SSL Certificates
The steps to import a new certificate can vary from site to site, depending on how the certificate is received and what type of certificate is imported. Java and Windows key stores (.jks and .pfx files) can be directly imported into the appliance. If you do not have a .jks or .pfx file, follow the steps below for normal certificate installation.
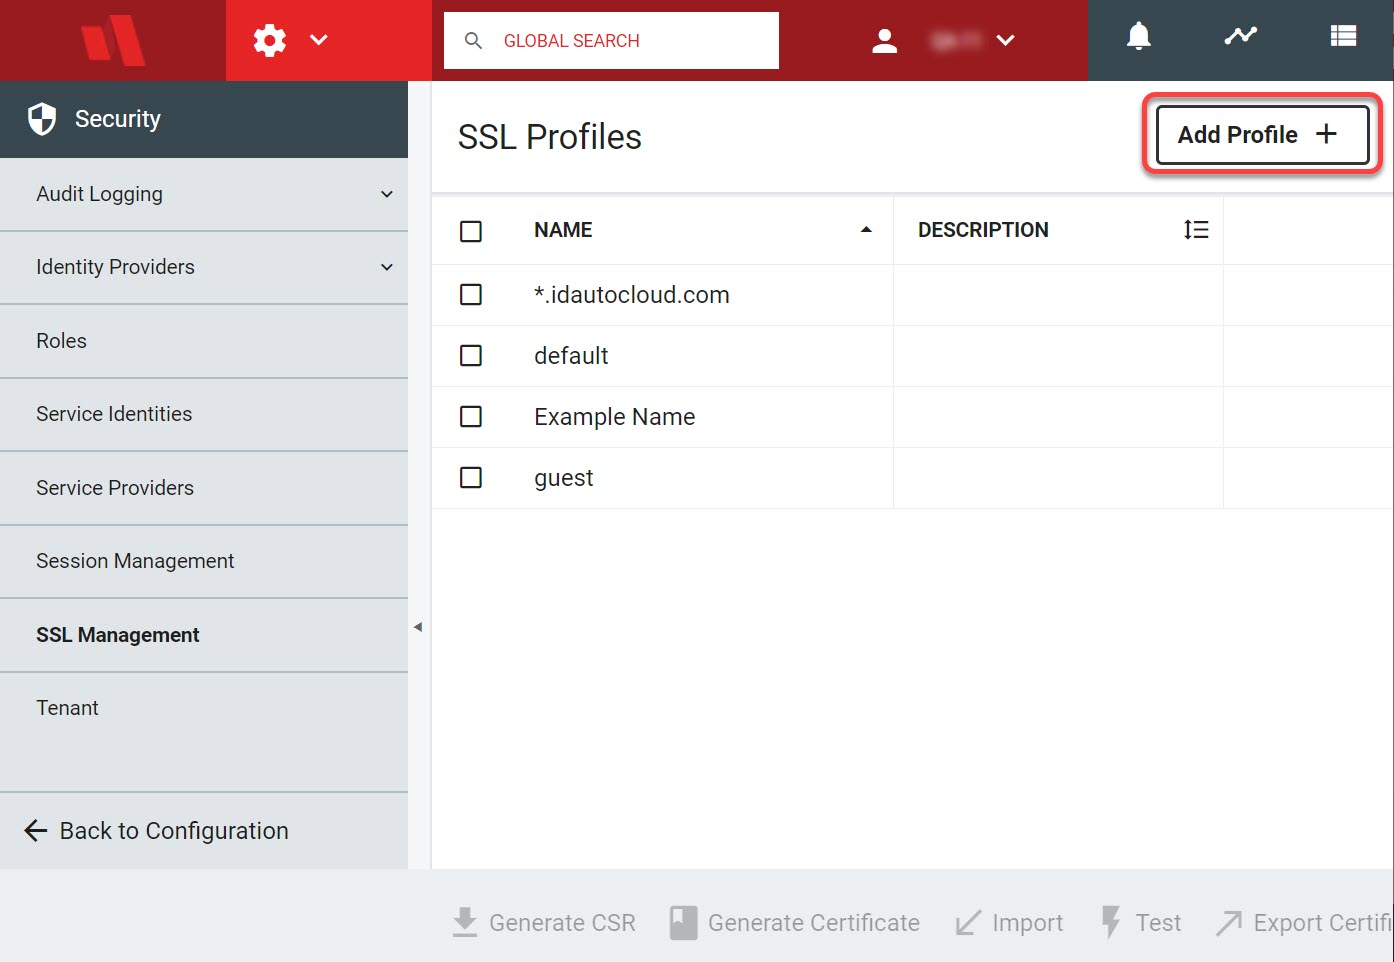
Navigate to Configuration > Security > SSL Management and click the Add Profile button.
In the pop-up that follows, enter a name for the profile and enter an optional description. Click Save.
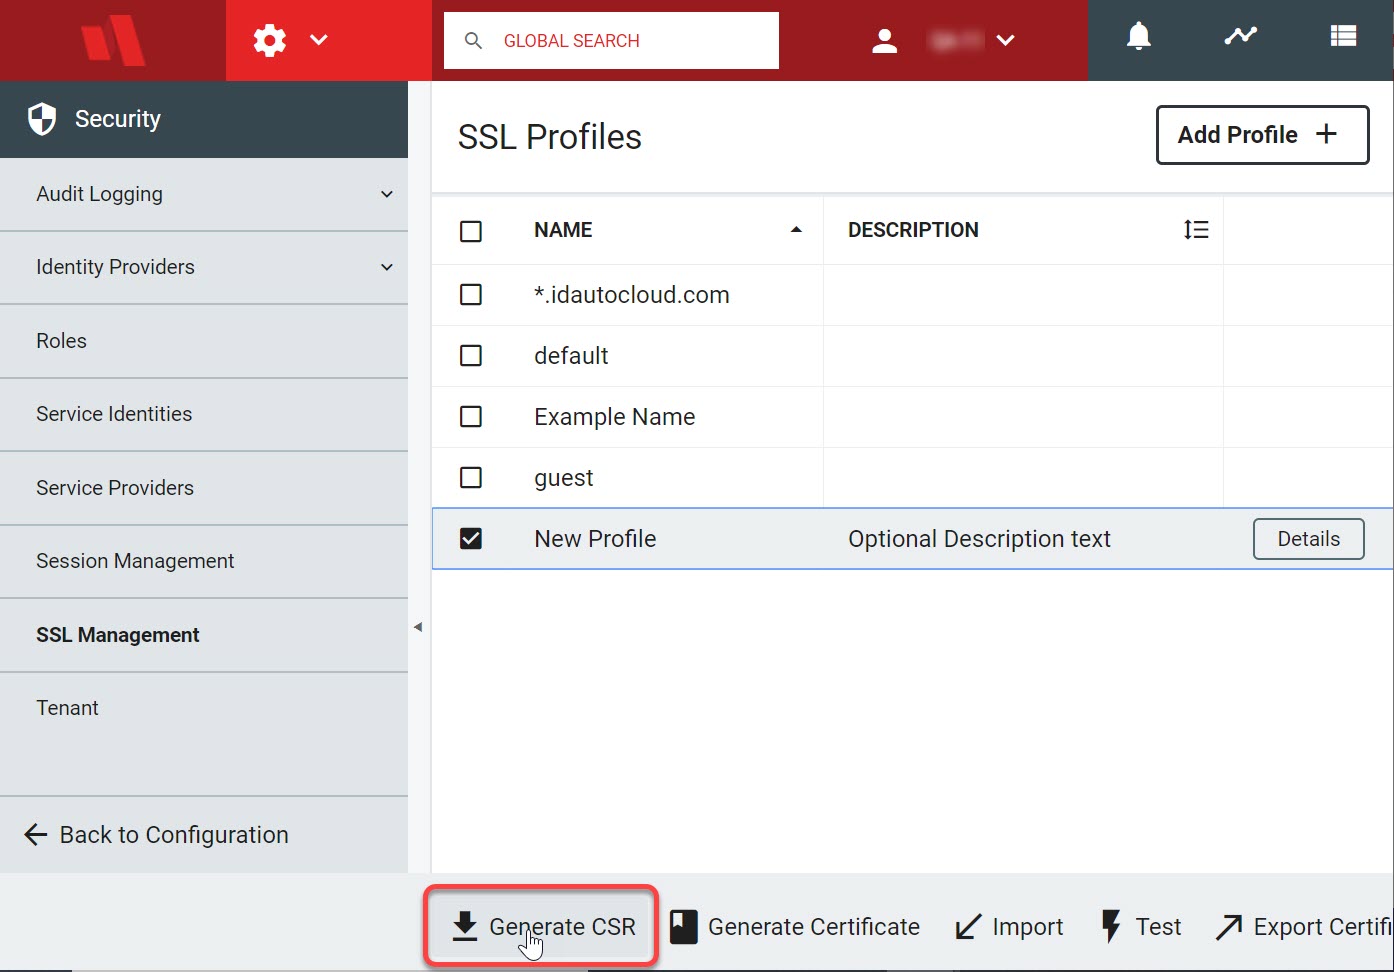
A new SSL Profile will be visible in the Manage SSL Profiles menu. Select the new profile and click Generate CSR in the action bar.
Fill out the Generate CSR form and click Generate Certificate.
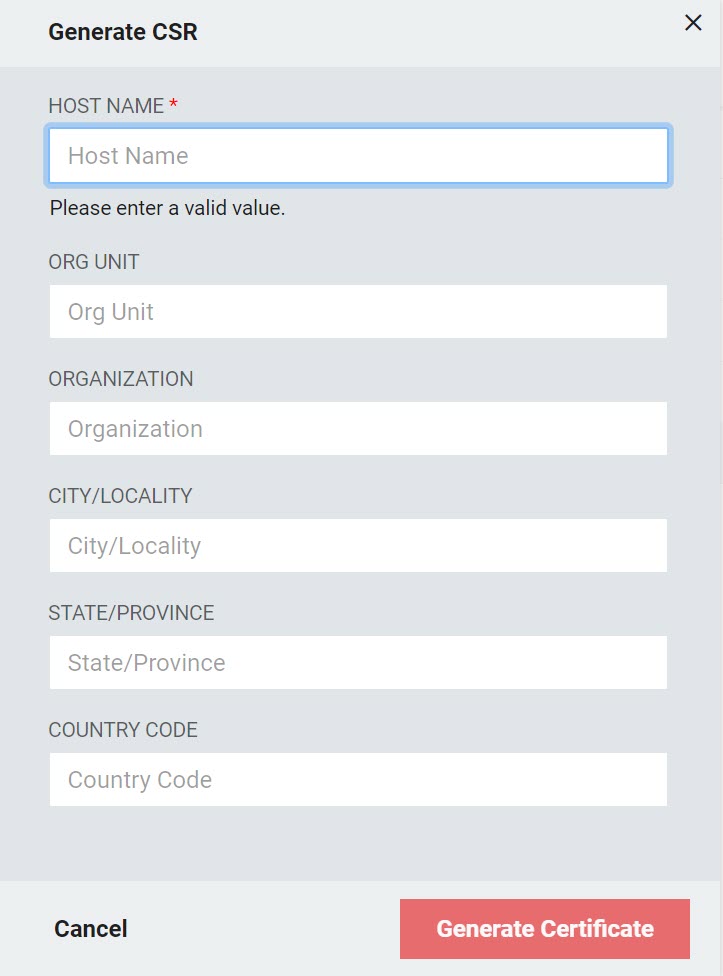 Table 57. Certificate Signing Request Fields
Field
Description
Host Name
Required field. Fully-qualified domain name of the host server or the *.hostname for wildcard certs
Note
Secure with a certificate such as www.google.com, secure.website.org, *.domain.net, etc.
Org Unit
Your department (e.g., Information Technology, Website Security)
Organization
The full legal name of your organization, including the corporate identifier
City/Locality
The locality or city where your organization is legally incorporated. Do not abbreviate
State/Province
The state or province where your organization is legally incorporated. Do not abbreviate
Country Code
The official two-letter country code (i.e., US, CH) where your organization is legally incorporated
Provide the downloaded CSR to your Certificate Authority to get a new certificate.
Download individual .crt or .pem files for the certificate, any intermediate certificates, and the root certificate.
Import the new certs into the Profile you just created.
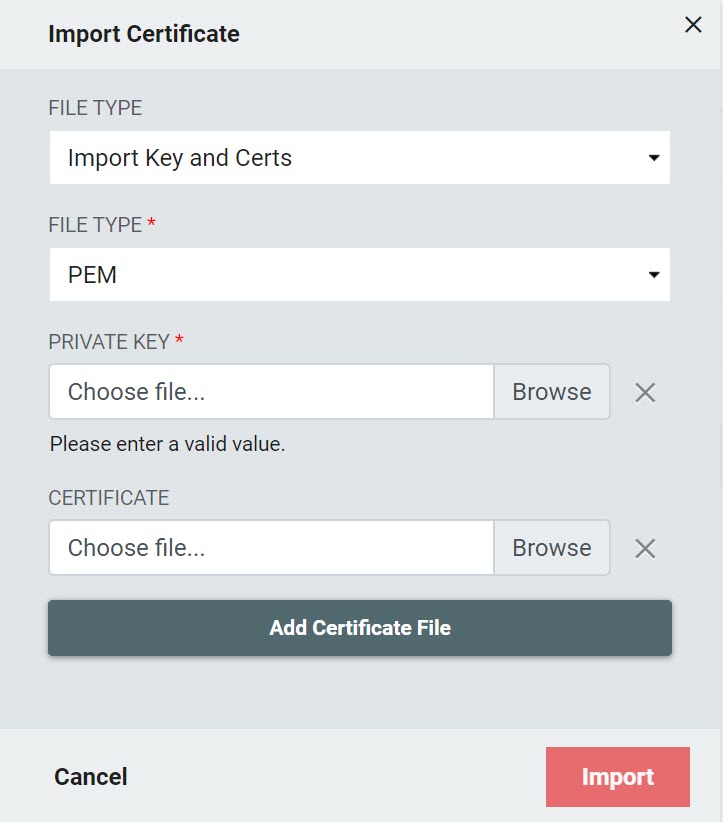
The Import Key and Certs menu allows you to upload the private key and certificate from an external certificate authority.
Note
If you do not have access to a private key at this stage, contact Identity Automation Support.
Table 58. Import Key and Certs FieldsField
Description
File Type
This is the main drop-down box. Choose Import Key and Certs to activate the fields described below.
File Type
Required field. Choose the appropriate file type: PEM or DER
Private Key
Required field. Upload the private key received from the certificate authority
Certificates
Click Choose File to open a file selection menu. Upload a certificate file received from the authority
Add Certificate File
Click this button to add another Choose File option. Click Import when complete
Note
This is only needed if the certificate chain contains any intermediates. Each intermediate must be uploaded individually, but can be done in any order.
The Import KeyStore menu allows you to import a JKS keystore file or PKCS12/PFX file from a RapidIdentity export.
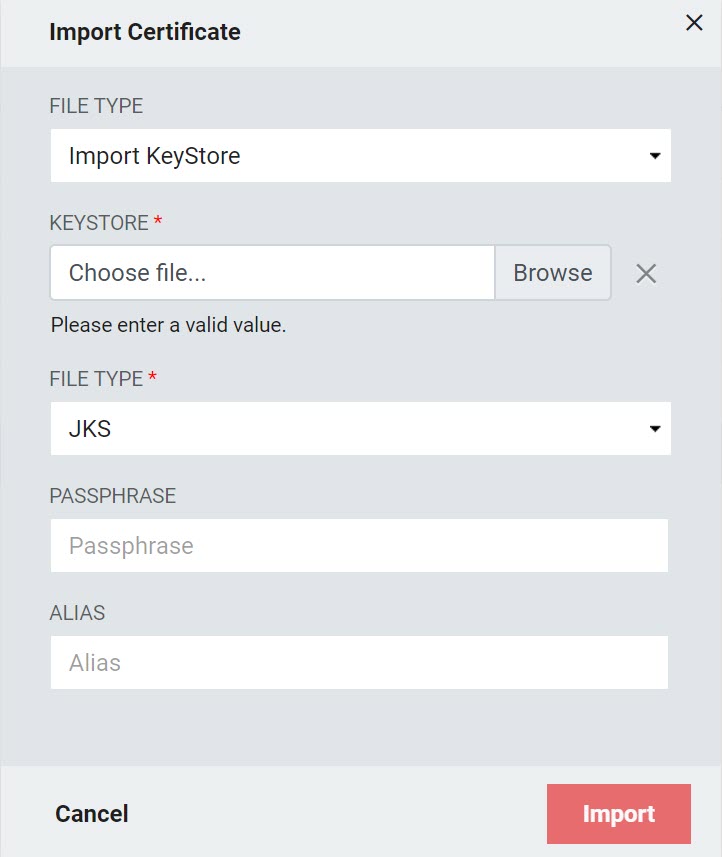 Table 59. Import KeyStore Fields
Field
Description
File Type
This is the main drop-down box. Choose Import Keystore to activate the fields described below.
KeyStore
Click Choose File to select the KeyStore file
File Type
Choose the appropriate file type: JKS or PKCS12/PFX
Passphrase
Enter the passphrase used when the KeyStore was created
Alias
Enter the alias used when the KeyStore was created. Click Import when complete
The Import from Profile menu allows you to import settings into this profile from existing SSL Profiles. This will essentially create a duplicate profile as one of the profiles already configured.
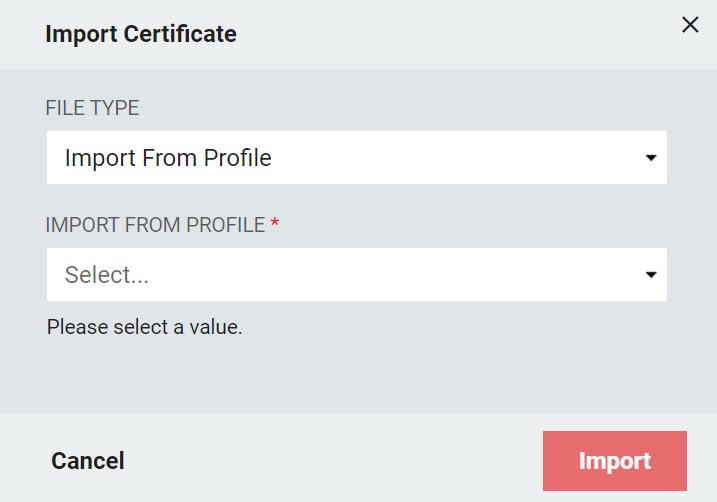
Simply select the desired profile from the drop-down list and click Import.
Click Test on the new profile to validate the imported certificates.

Note
The "Test" functionality attempts to open a new tab pointing to the server at a different TCP port which is temporarily set up to use the SSL certificate chain being tested. In order to be able to test, you will need to be able to connect to the RapidIdentity server on the temporary TCP port. This will almost certainly require Firewall rules to be adjusted.
Once the certificate is valid, click the Import button on the live profile (usually default unless it has been changed manually) and import as shown in Step 7c.
Click Send Cluster Reload to make this the new active certificate. It may be necessary to completely quit the browser session and re-open it for it to recognize the new SSL certificate.
