Create a Role
Follow these steps to create a new role.
From the Roles Module, click Add Role+.
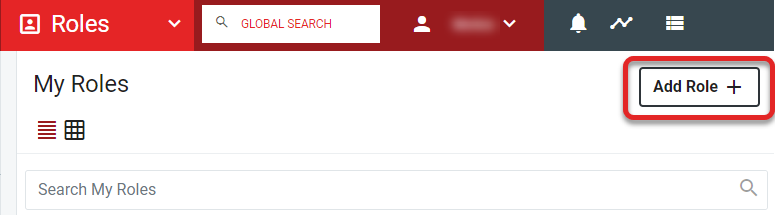
The Add Role options open in the right sidebar.
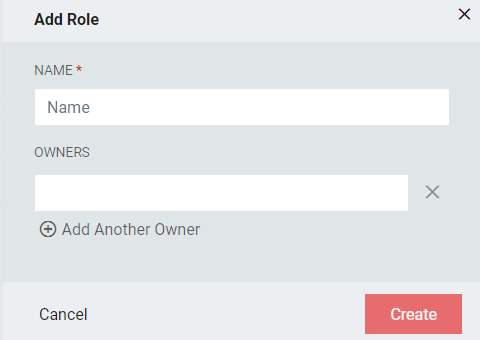
Enter a Name for the role.
Enter the Owner for the role. Multiple owners can be selected for a role.
If the role will serve as a distribution list, click the Distribution List checkbox.
Click Save.
Edit Role options will open. Role settings can be modified at any time after the role has been created.
 Table 5. Create A Role - Detail Fields
Field
Description
Name
Provide a name for the role
Description
Optional description for the role
Distribution List
Check this box if this role will serve as a distribution list
Note
This option will only have an effect if RapidIdentity is using Active Directory as its main directory service
Membership Managers Can Edit
Allows Membership Managers to edit the Role details in addition to their permission of managing the Role membership criteria
Note
The function of this field does not change Membership Managers ability to add members to the role.
Auto Synchronization Interval (Hours)
Automatically sync the role based on hours
Auto Synchronization Priority
If auto-sync has been selected for more than one role, select the sync priority for this role
Owners
Select at least one owner for the role. Role Owners and Membership Managers can be added or removed
Click Save.