Workflow Actions
A workflow represents a business process that pulls data points from various locations in RapidIdentity, including user input during the associated entitlement and updated database attributes. The following steps are a very basic overview of the process required to create a workflow to automate business transactions within RapidIdentity. A specific example is also included.
Log into RapidIdentity via a web browser:
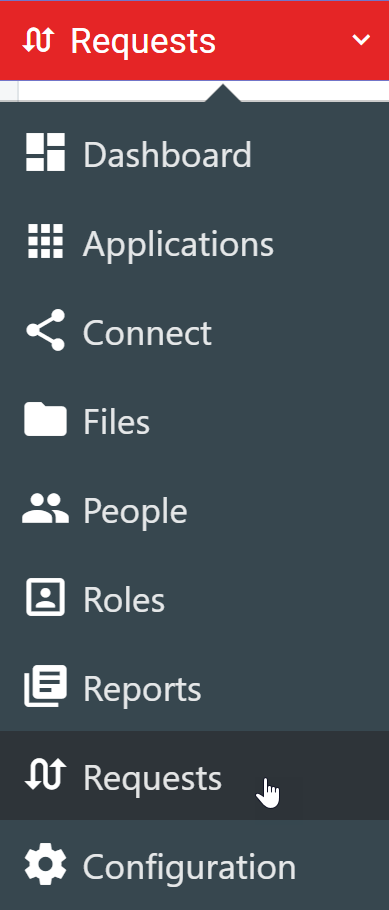
https://<your-host-name>.Select the Requests module from the module selector.
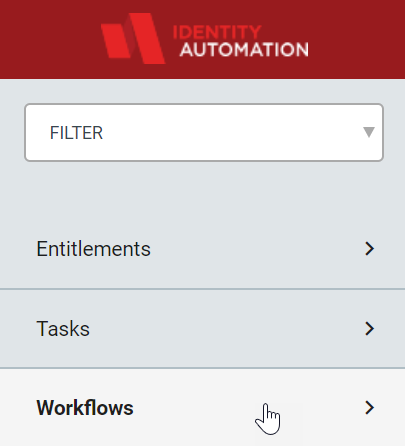
Select Workflow from the left menu.
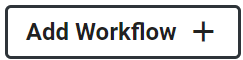
Select the Add Workflow tile.
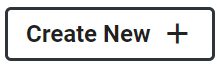
To create a new workflow instead of adding a pre-existing one, click Create New +.
Provide a name and an optional definition for the workflow.
Create a Workflow action by clicking the vertical line connecting the Start Action to the End Action and then clicking the green +.
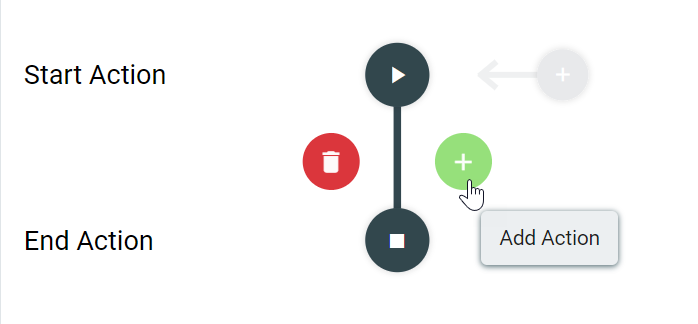
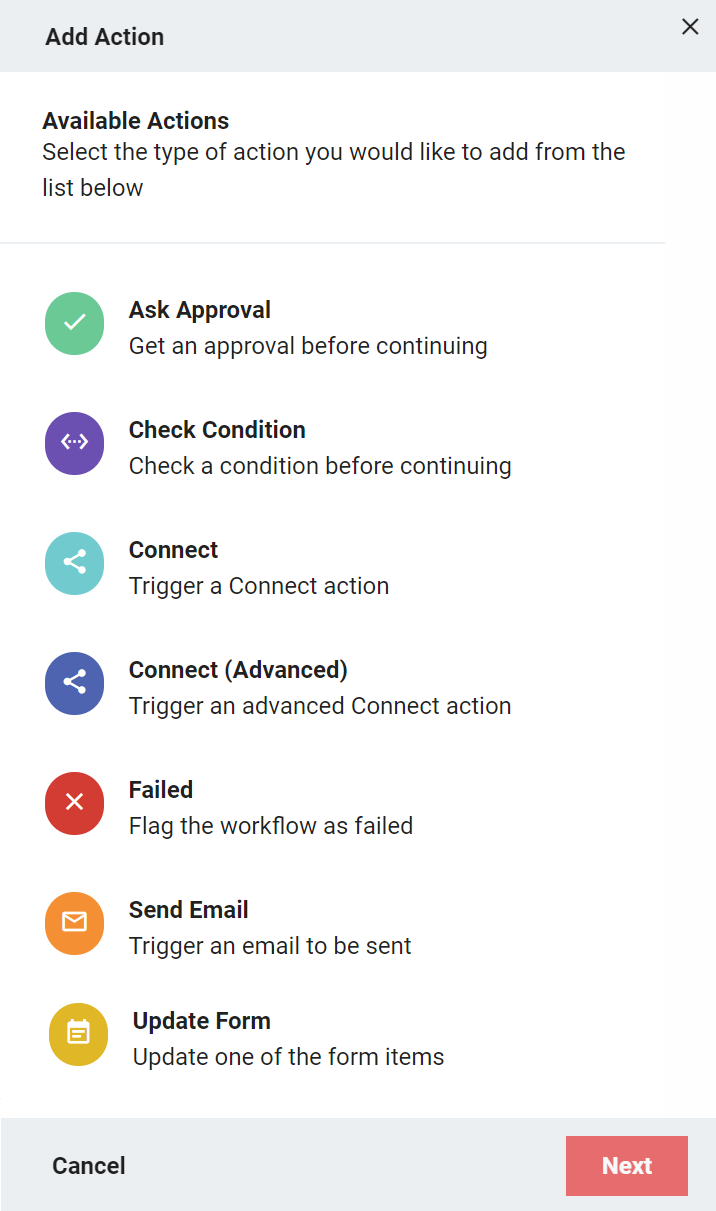
Select the action to add from the list of available actions:
Ask Approval - Get approval from another user in the system before continuing, including the ability to escalate.
Check Condition - Perform a Boolean match on a specific expression and return either
trueorfalse.Connect- Invoke a Connect Action Set.
Connect (Advanced) - Invoke a Connect Action Set and allow results values to be used later in the workflow.
Failed- Flag the workflow as
failed.Send Email - Trigger an email to be sent.
Update Form - Update a value in one of the form items.
Create forms to capture user input and/or selections, including the ability to upload a file to the system (optional).
Note
It may be necessary to go back and forth between creating Workflow Actions and creating or editing the form, depending on workflow construction.
Activate the workflow with the toggle switch at the top right of the screen.

Save the workflow.
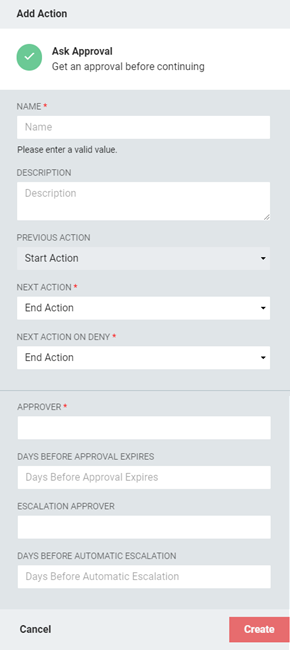
Ask Approval
The Ask Approval action provides RapidIdentity the dataset needed to loop in a manager or other decision-maker into a workflow. When the entitlement is requested, an Alert will show up in the assigned approver's Alerts menu as a request to Approve or Deny.
 |
Field | Description |
|---|---|
Name | Enter a name for this approval action. |
Description | Provide an optional description of the approval action. |
Previous Action | This is a read-only reference field that displays which action will happen immediately before this one in the workflow. |
Next Action | Choose the action to perform next after the entitlement has been approved. |
Next Action on Deny | Choose the action to perform next after the entitlement has been denied. |
Approver | Begin typing to view a list of approvers that could be used for this action. NoteIf you choose a group as an approver, the notification will go to all members of that group, and any one of them can approve the entitlement request. |
Days Before Approval Expires | Enter the number of days that will be allowed to pass without approval or denial before the opportunity to approve or deny expires and is removed from the approver's Alerts queue. NoteIf an approval request expires without being approved or denied, the workflow will automatically fail. |
Escalation Approver | Begin typing to view a list of approvers that this request could be escalated to. NoteIf you choose a group as an escalation approver, the notification will go to all members of that group, and any one of them can approve the entitlement request. |
Days Before Automatic Escalation | Enter the number of days that will be allowed to pass before the approval request is automatically assigned to the Escalation Approver. |
Check Condition
The Check Condition action will verify a condition is true before continuing.
 |
Field | Description |
|---|---|
Name | Enter a name for the action. |
Description | Provide an optional description. |
Previous Action | This is a read-only reference field that displays which action will happen immediately before this one in the workflow. |
Next Action | Choose the action to perform next after the condition has been found |
Next Action on False | Choose the action to perform next if the condition is found |
Operation | The Operation field defines which type of check to perform between Operands 1 and 2. There are four options:
|
Operand 1 | The criteria to check against Operand 2. This can be a string or an expression. |
Operand 2 | The criteria against which Operand 1 is checked. For Regular Expression matches, this field must contain a regular expression. For Expression matches, this field must contain a RapidIdentity Workflow expression. |
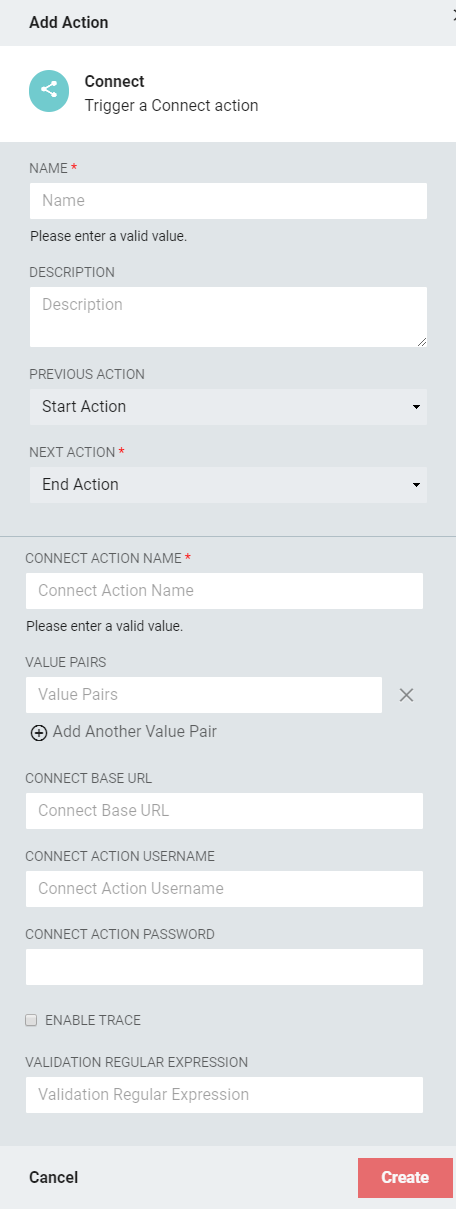
Connect Action
Use this feature to run an action set through Connect. The Connect Action Set must be set up before the Workflow can contain it.
 |
Field | Description |
|---|---|
Name | Enter a name for this Connect action. |
Description | Provide an optional description. |
Previous Action | This is a read-only reference field that displays which action will happen immediately before this one in the workflow. |
Next Action | Choose the action to perform next after the Connect Action Set has run. |
Connect Action Name | Enter the name of the Connect Action Set you want to perform. NoteThere is no search or dropdown function for this field, so ensure the Action Set name is entered correctly. When referencing an Action Set that is not in the |
Value Pairs | Enter a value pair: data to send to RapidIdentity Connect if the Action Set requires input parameters. To include more value pairs into this action, click Add Another Value Pair and populate the new field with another set. NoteValue Pairs are input parameters passed to Connect for the Action Set being invoked. To pass string values, the value would need to be contained within single or double quotes. Boolean values should remain unquoted. Value Pairs can be static, hard-coded values or Workflow Expressions. For example, if the Action Set needs the idautoID of the Workflow recipient passed as an input parameter {recipient_id}, one option would be to use |
*Connect Base URL | The base URL of the RapidIdentity Connect system. NoteConnect Base URL, Connect Action Username, Connect Action Password, and Enable Trace are only required if Global Connect Integration settings have not been configured or if the URL and credentials required to invoke this Action Set are different. |
*Connect Action Username | Enter the username credential to be used for the Connect Action Set authorization. |
*Connect Action Password | Enter the password credential to be used for the Connect Action Set authorization. |
*Enable Trace | Click this checkbox to enable Detailed Tracing of the Action Set. |
Validation Regular Expression | Enter a regular expression to use to validate the results from RapidIdentity Connect. If the expression matches the results, the action will be resolved as true. If the expression and the results do not match, the workflow fails, and the entitlement status will change to |
Connect (Advanced) Action
Use this feature to run an advanced action set through Connect. An Advanced Connect Action Set generates output results to be consumed by a subsequent expression within the workflow, and must be configured before the workflow can contain it.
An Advanced Connect Action Set is expected to return a valid JSON string; the workflow engine parses this JSON and makes the key/value pairs required later in the workflow.
Example
If Connect returns {"key1":"value1","key2":"value2"}, the values can be used in workflow expressions in subsequent workflow actions. For example %{dss.key1} would resolve as value1 and %{dss.key2} would resolve as value2.
 |
Field | Description |
|---|---|
Name | Enter a name for this Connect (Advanced) action. |
Description | Provide an optional description. |
Previous Action | This is a read-only reference field that displays which action will happen immediately before this one in the workflow. |
Next Action | Choose the action to perform next after the Connect (Advanced) Action Set has run. |
Connect Action Name | Enter the name of the Connect Action Set you want to perform. NoteThere is no search or dropdown function for this field, so ensure the Action Set name is entered correctly. When referencing an Action Set that is not in the |
Value Pairs | Enter a value pair: data to send to RapidIdentity connect if the Action Set requires input parameters. To include more value pairs into this action, click Add Another Value Pair and populate the new field with another set. |
*Connect Base URL | Enter the base URL of the RapidIdentity Connect system. NoteConnect Base URL, Connect Action Username, Connect Action Password, and Enable Trace are only required if Global Connect Integration settings have not been configured or if the URL and credentials required to invoke this Action Set are different. |
*Connect Action Username | Enter the username credential to be used for the Connect Action Set authorization. |
*Connect Action Password | Enter the password credential to be used for the Connect Action Set authorization. |
*Enable Trace | Click this checkbox to enable Detailed Tracing of the Action Set. |
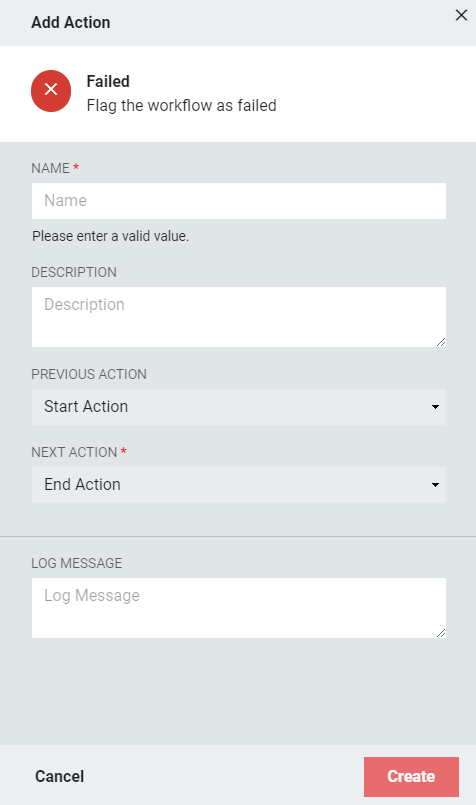
Failed
Use this action to flag a workflow as failed. An optional (but highly recommended) Log Message can be added to describe the failure that shows up in the Request Log found in the Entitlement Details.
 |
Field | Description |
|---|---|
Name | Enter a name for the Failed action. |
Description | Provide an optional description. |
Previous Action | This is a read-only reference field that displays which action will happen immediately before this one in the workflow. |
Next Action | Choose the action to perform next after the Failed action has resolved. |
Log Message | Enter a message that will describe the failure in the Workflow Request Logs for later investigation if needed. |
Send Email
Use the Send Email action to trigger an email to be sent based on the results of the workflow.
 |
Field | Description |
|---|---|
Name | Name the Send Email action. |
Description | Provide an optional description. |
Previous Action | This is a read-only reference field that displays which action will happen immediately before this one in the workflow. |
Next Action | Choose the action to perform next after the Send Email action has been completed. |
From Address | Enter the email address that the email should appear to be sent from. This email address will be able to receive replies to the emails sent by Connect. |
To Address | Enter the email address that the email should be sent to. Workflow expressions may be used in this field. |
CC Address | Enter any email addresses that need to be carbon copied on this transaction. Workflow expressions may be used in this field. |
BCC Address | Enter any email addresses that need to be blind copied on this transaction. Workflow expressions may be used in this field. |
Email Subject | Enter a descriptive but short subject for the email message. Workflow expressions may be used in this field. |
Email Message | Enter the body of the email. Workflow expressions may be used in this field. NoteHTML editing is not available in this field, so manual formatting must be done with plain text only. |
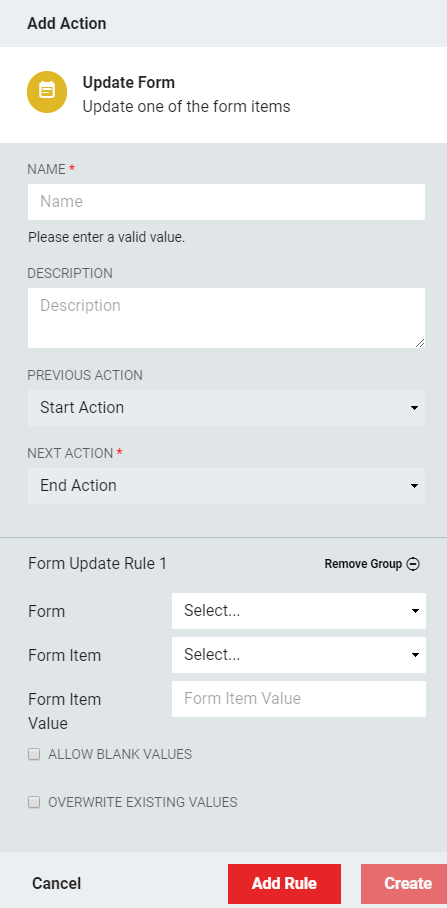
Update Form
Use the Update Form action to alter the values in one of the Forms associated with the Workflow.
 |
Field | Description |
|---|---|
Name | Enter a name for the Update Form action. |
Description | Provide an optional description. |
Previous Action | This is a read-only reference field that displays which action will happen immediately before this one in the workflow. |
Next Action | Choose the action to perform next after the Update Form action has resolved. |
Form Update Rule [#] | These rule groups organize the Form Update actions that are being performed during this step. Each rule group contains five variables to configure, as explained below. To add another rule group, simply click Add Rule at the bottom of the sidebar. Another rule group will display for configuration with the same variables as the previous. NoteTwo rule groups cannot perform an action on the same form item. For example, you cannot configure two Form Update rules to both update the same checkbox. |
Form | Choose the Workflow form that contains the form item to be updated. |
Form Item | Choose the form item to be updated from the drop-down list populated by the Form field. |
Form Item Value | Enter the new item value that should be entered into the form as a result of this action. NoteThis can be a workflow expression, meaning that the value put into the form will be dynamic. Static values can be entered using a specific format depending on Form Item:
|
Allow Blank Values | Click this checkbox if a workflow expression is expected to return a value to this field that can be blank. NoteIf Overwrite Existing Values is set to true and expects a value that can return as blank, this should be active. |
Overwrite Existing Values | Click this checkbox if the value being entered can overwrite the value that already exists in the workflow's form. |