Create Record Mappings
Now that the Record Definitions and Field Definitions have been configured, the Record Mappings need to be configured to properly route the information into the Metaverse namespace.
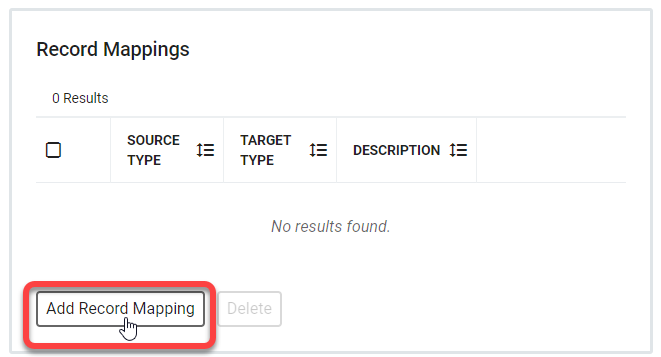
To begin this process, click Add Record Mapping from the application's main Configuration screen.
 |
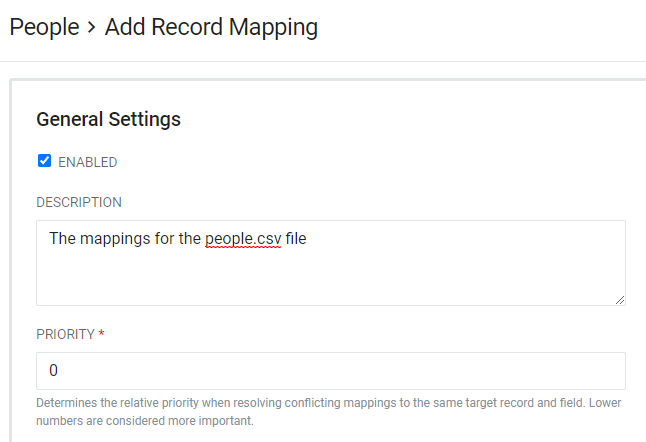
In the General Settings section, set a description and a priority for the record mapping. There is no name requirement.
Note
Priority can be set as any number between -231 and 231-1. Lower numbers are considered higher priority.
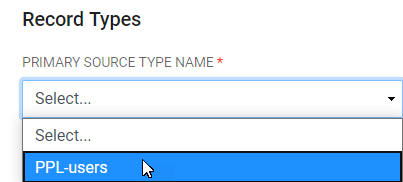
In Record Types, there are three fields to populate.
Primary Source Type Name - choose the Record Definition created at the beginning of this process.
Target Type Name - select the type of record this file will be a data source for. Since we know this is a database file of User information,
useris the selection for this option.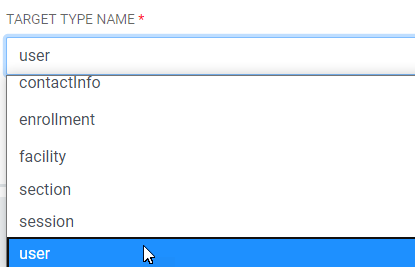
Partition On Field - if there is a field from which a partition can be constructed in the primary source type, set that field here for one-to-many record mappings.
With the Record Mapping set up, continue to Field Mapping. A side panel will appear, asking you to Save before continuing.
Note
If you navigate away from this screen, simply click the Details button in the Record Mapping section to return to the Field Mapping menu.