Using Proxy As
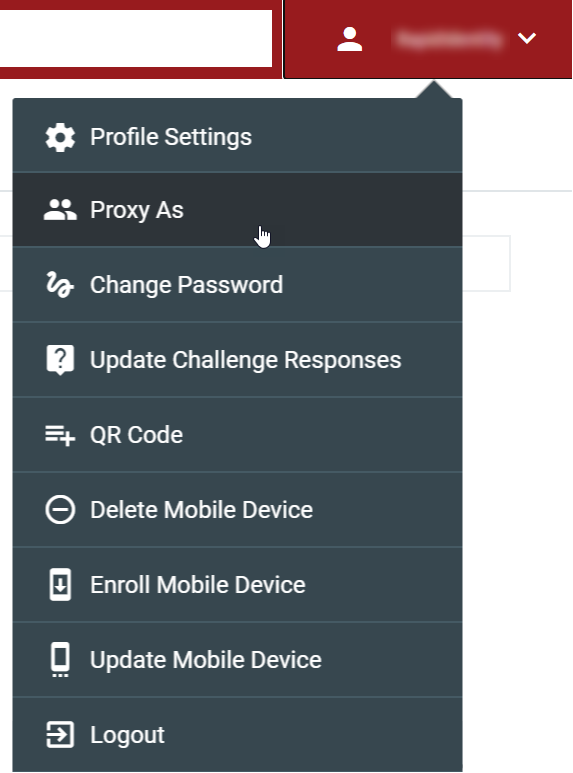
Once Proxy As has been enabled, users can go to their Self-Service menu and choose the Proxy As function.
 |
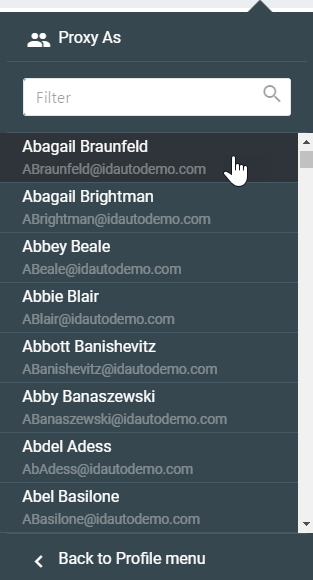
The current user then sees a list of available Proxy Targets. Choose the appropriate user and confirm your selection.
 |
A yellow frame will appear around the periphery of the screen, indicating that you are now in a Proxy As session. You will be able to do many things on this screen that the chosen user would be able to do. This includes approving or denying requests, viewing available applications (but not deploying them), and accessing the user's file shares.
Note
For security purposes, Proxy As users cannot open the user's applications, access the user's account settings, or open the user's files.
 |
Once the Proxy session is complete, click on the Self-Service menu and choose End Proxy Session. To log out of RapidIdentity completely from this screen, choose Logout.
 |
Proxy As Agent Permissions
Proxy Agents are able to:
Perform actions (e.g. approve, deny, certify) for which the Proxy Target has permissions
View a Proxy Target's environment for configuration questions and troubleshooting
Proxy Agents are not able to:
Perform Global Search
Set Bookmarks for the Proxy Target
Launch Applications
Ignore tasks
View or manipulate (e.g. edit, delete) the Proxy Target's files
Note
All applications and file shares visible to the Proxy Target will be visible to the Proxy Agent. Beyond the restrictions listed here, there is no way to further configure visibility restrictions for Proxy Agents.