Localization
Localization provides users with the RapidIdentity System Admin role the ability to configure text within RapidIdentity.
Localization modules are grouped into component containers to help facilitate navigation and understanding of where a localization string is found within the product.
There are three major functionalities in this module:
Create custom labels or other text.
Create new translations for non-English speaking audiences.
Import and export locales as .csv files to set up translations quickly.
 |
Create Custom Labels and Text
The most common localization use case is to make a particular message more friendly or informative by adjusting a single word or the overall phrasing.
The most efficient method to solve this use case is to locate the proper container to modify the string in question by using the dynamic search filter. For example, to find all containers regarding labels, search for "label" in the bar and hit Enter.
 |
Sample Use Case: Claim My Account
Consider the following error message in response to a failed attempt to Claim My Account attempt.
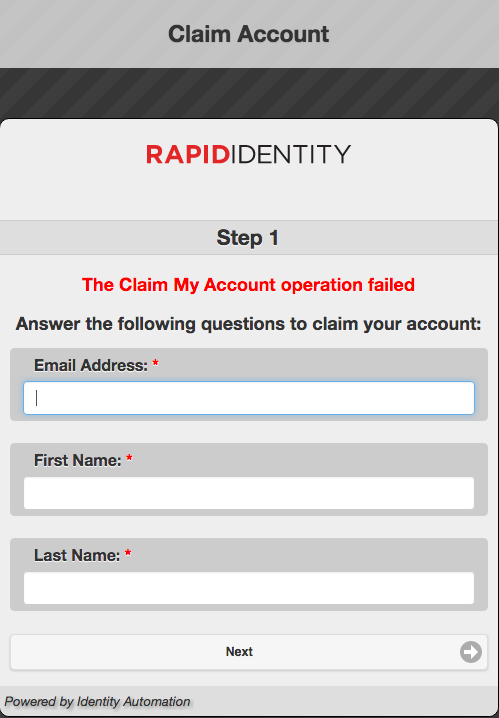 |
In this example, the red error message states that the Claim My Account operation failed. However, it does not provide the user any additional information to clarify what step(s) should be taken to execute the Claim My Account operation properly.
While there are many different reasons that could uniquely or collectively trigger this error message, from the localization perspective, the best option here is to modify the error message to inform the user what they should do before panicking and contacting their Support team.
The overall problem-solving approach includes the following steps.
Access RapidIdentity Appliance Localization.
Modify the string to inform the user.
Save and apply changes.
Validate the modified message works
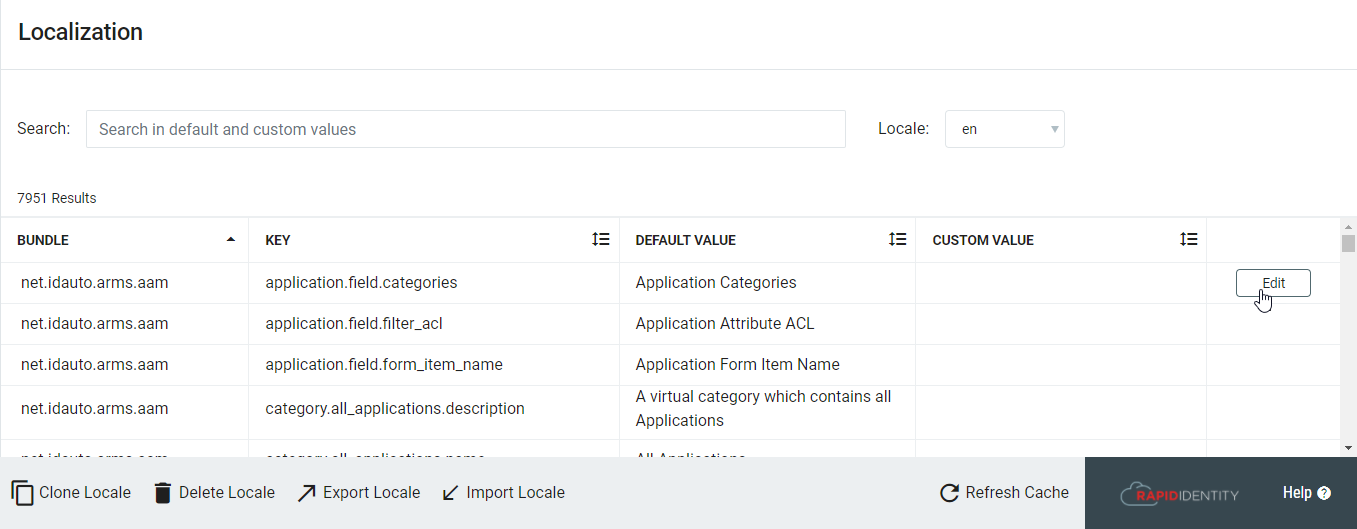
Access Localization from Configuration > General > Localization.
Using the dynamic search filter, type "Claim My Account operation failed". The dynamic search returns one result. Click the Edit button on the right to display the default value and open a field for a new, custom value.
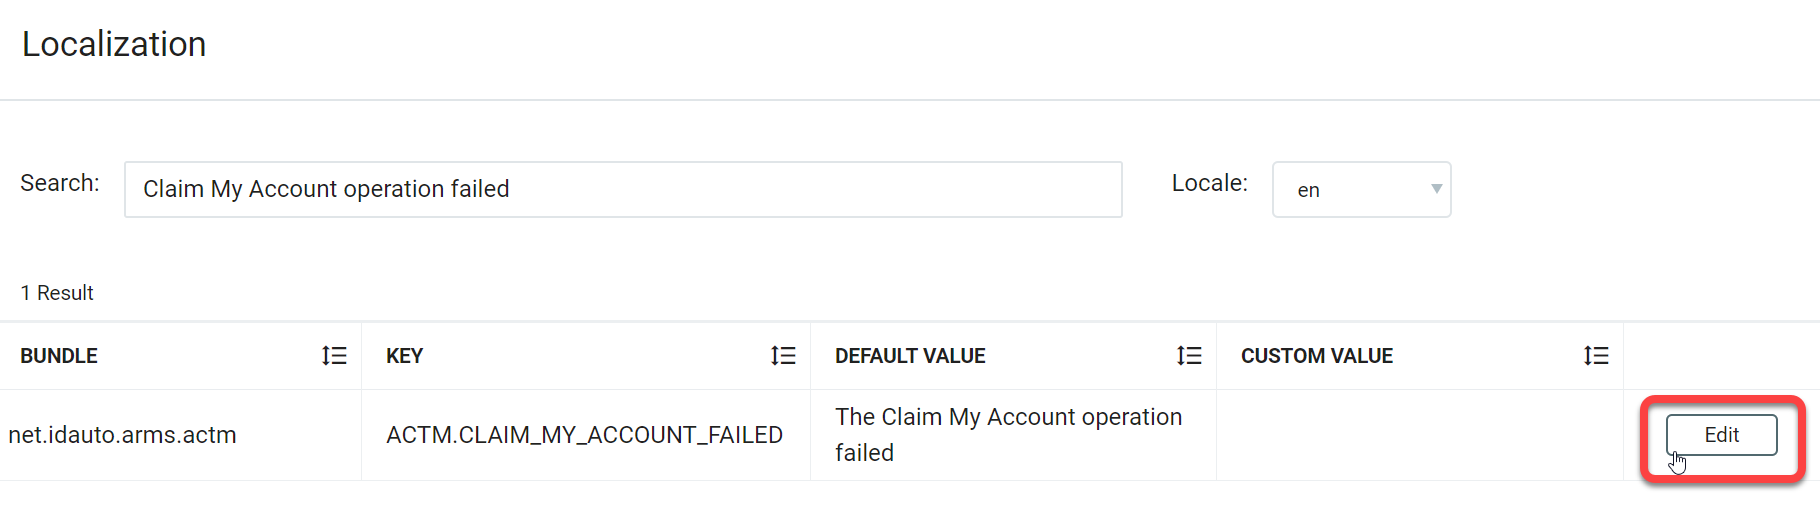
Next, enter a custom description in the Custom Value text box.
Click Save and then Refresh Cache. The localization tree will refresh.
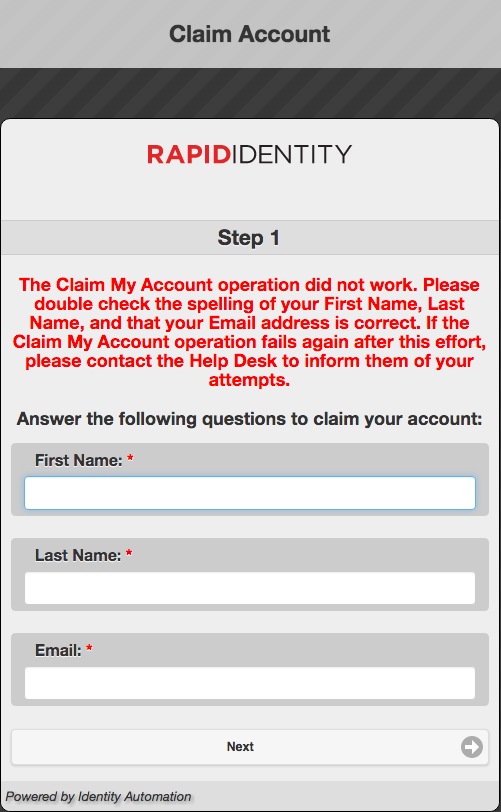
Finally, validate the overall process by attempting to fail the Claim My Account operation.
If the refreshed custom value is not desired or needs to be replaced, either edit the custom value as desired or click the Revert to Default button. Then click the Refresh Caches button to apply the changes.
Create a New Locale
Creating a new locale involves cloning an existing locale or importing a new locale. Thus, all new locales require manual translation to the desired language in the new locale.
Note
New locale creations can often be done by exporting the default en locale, translating the .csv file to the target language, and then importing that .csv file as a new locale.
To create a new localization, do the following.
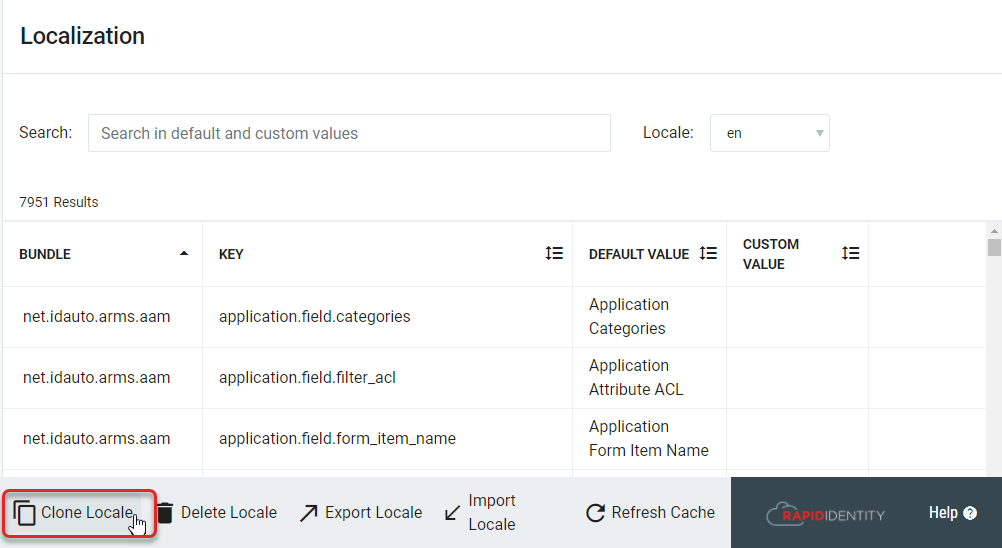
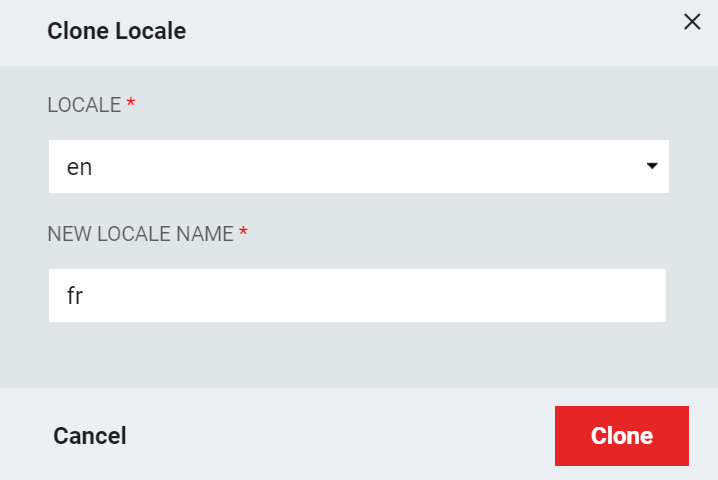
Access RapidIdentity Appliance Localization and then click Clone Locale.
The new locale can now accept updates or translations to new languages.
Name the new locale, then click Clone.
Delete an Existing Locale
To delete a locale, click Delete Locale, select the desired locale, and then click Delete.
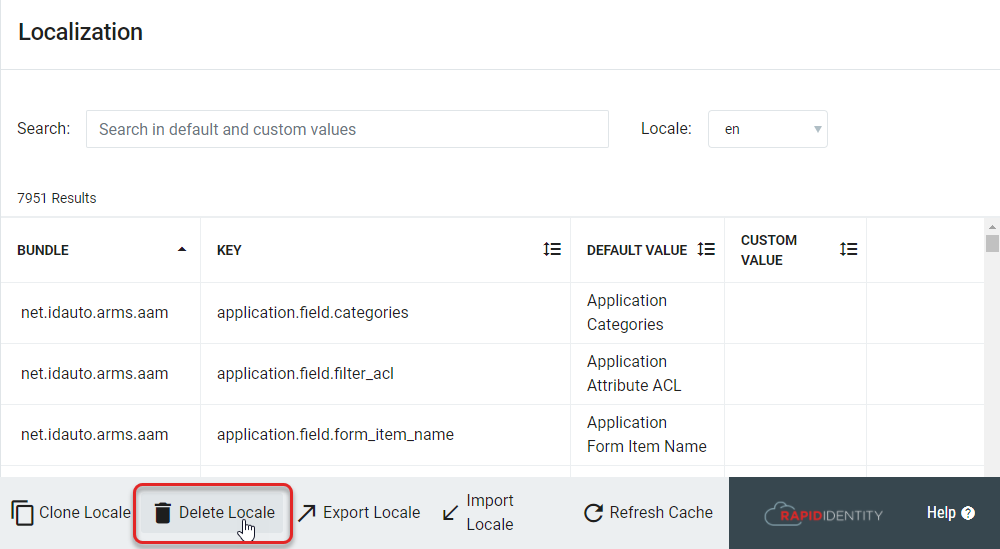

Click Refresh Cache to update the selected locale.
Import or Export a Locale
Locales can be imported or exported as .csv files to define translations. Exported locale files can serve as a template for imports.
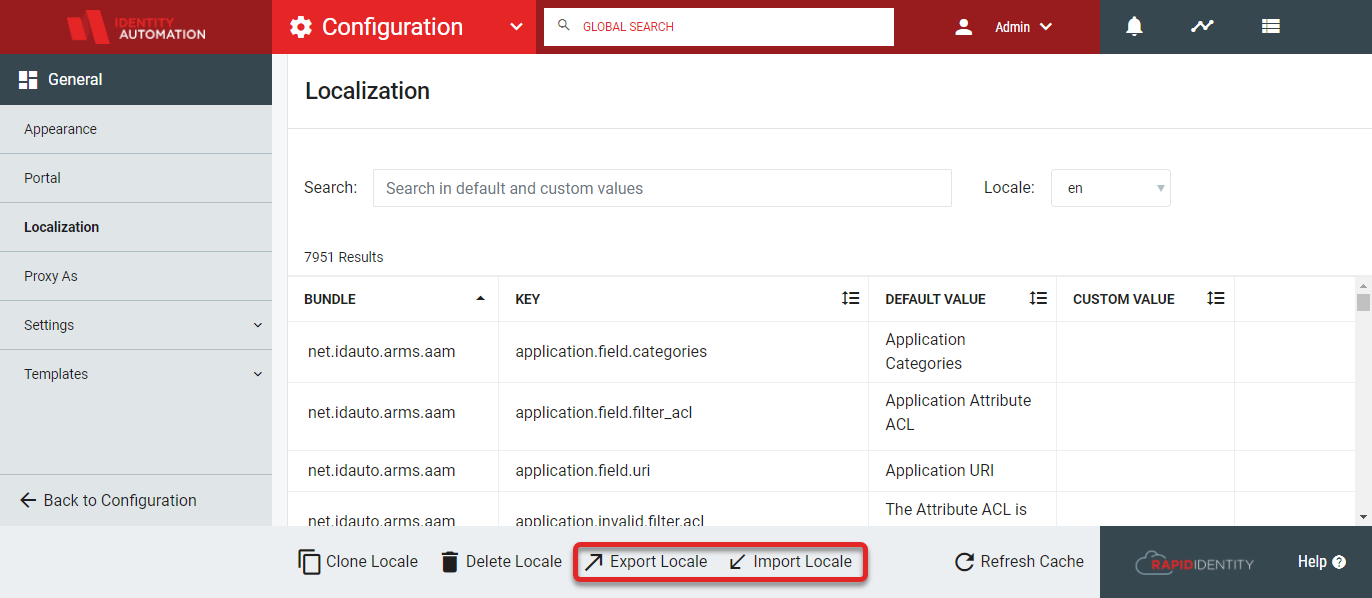
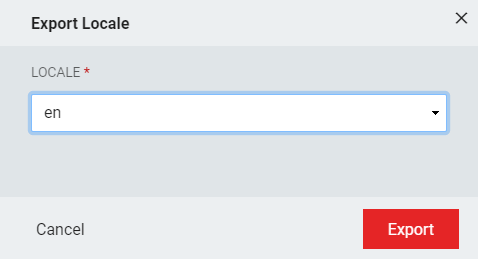
To Export a locale, simply click Export Locale and choose which locale is to be exported into a .csv file.
Importing a locale can provide different translations available to RapidIdentity. After clicking Import Locale, simply locate the .csv file on the local environment and load it into RapidIdentity. Once the file is selected, you will be required to name the locale with the desired locale identifier.
