Settings
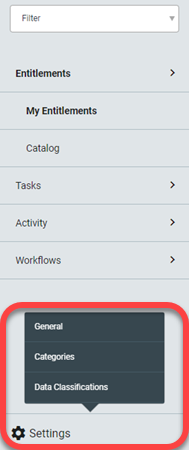
The Settings menu is located at the bottom left of the screen and contains three different sections: General, Categories, and Data Classifications.
 |
General
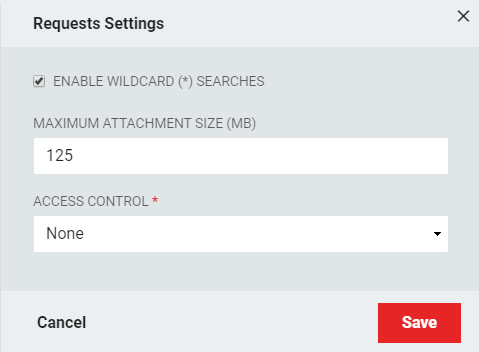
The General setting is used to enable or disable the ability to do wildcard searches in any tab. It also allows the administrator to set the maximum attachment size, in terms of megabytes. The General settings include the ability to change the Access Control to predetermine which users will have access to the provided content.
 |
Categories
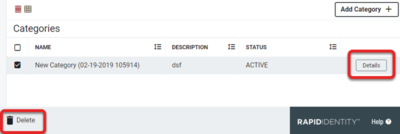
The categories in which the particular resources belong can be viewed in this section. The list of categories can be filtered by the name of the categories, the description, or the status. From this screen, the administrator can delete categories by clicking the box and pressing Delete, or view its details by clicking on the Details button.
 |
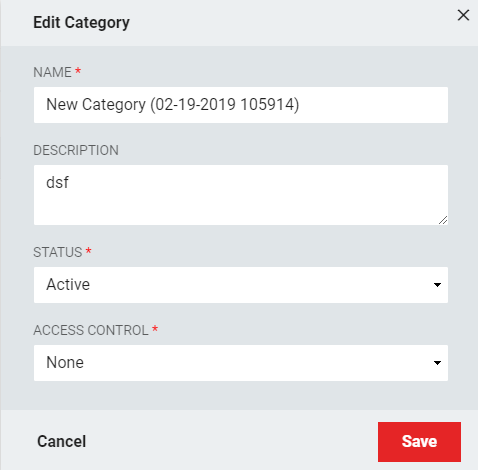
Edit a Category
Existing categories can be edited by clicking on the Edit button, located at the bottom of a detailed section.
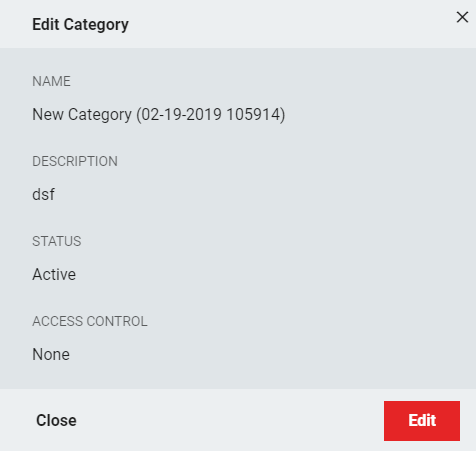 |
The table below lists the mandatory fields that can be edited. Other fields can be added to suit the organization's needs.
Field Name | Description |
|---|---|
Name | The name of the category that will appear in the category section. |
Description | A brief description of a category can be included in this field and is the only field that is optional. |
Status | The status of the category can be set to active or inactive. |
Access Control | Specify whether access control should exist, and if so whether it is role-based or attribute-based. |
Once the necessary fields are edited, click Save.
 |
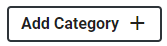
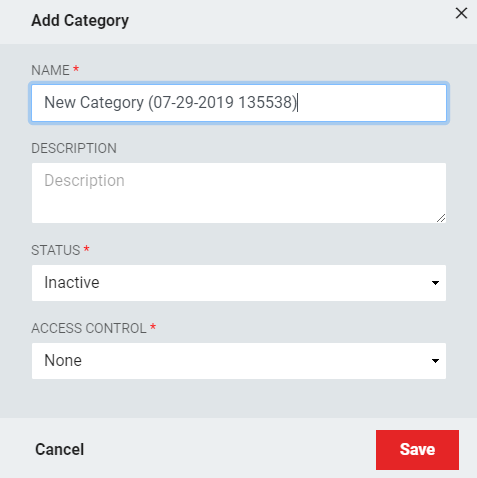
Add a Category
New categories can be added by clicking the Add Category button located at the top right of the screen.
 |
The fields for Add a Category are the same as those for Edit a Category. Once the necessary fields are edited, click Save.
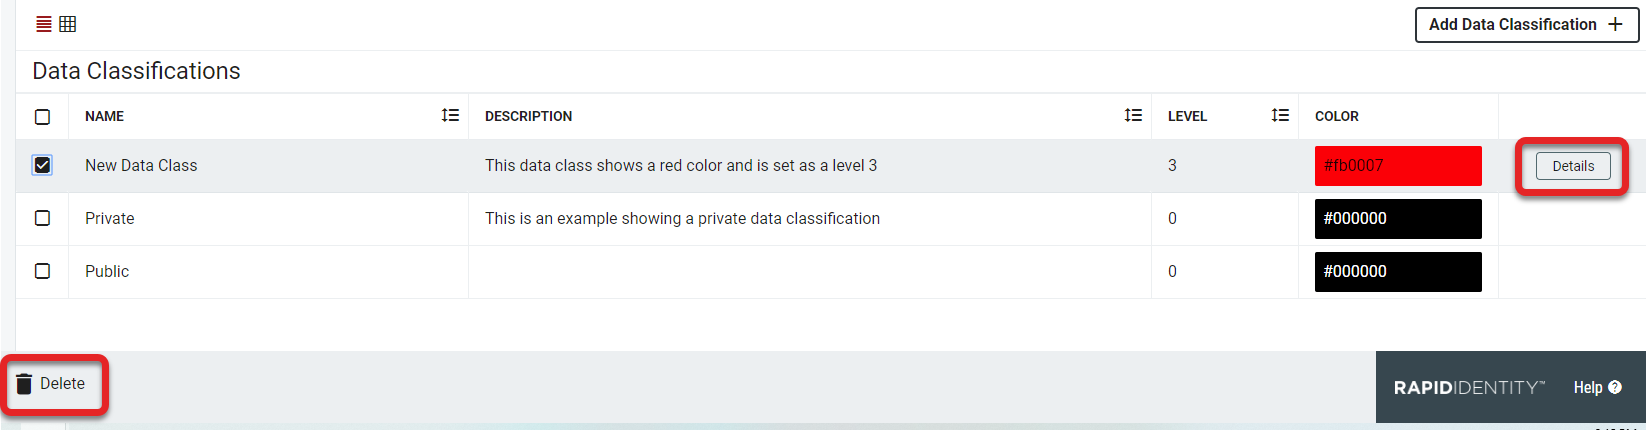
Data Classifications
The data classifications in which entitlements belong can be viewed in this section. The list of categories can be filtered by the name of the data classification, the description, or the status. From this screen, the administrator can delete data classifications by clicking the box next to the associated data classification and pressing Delete, or view its details by clicking on the Details button.
 |
Edit a Data Classification
Existing data classifications can be edited by clicking on the Edit button, located at the bottom of a detailed section.
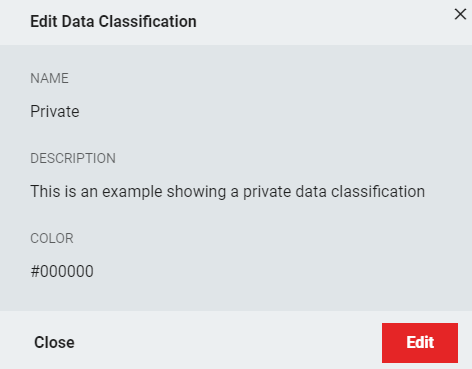 |
The table below lists the fields that can be edited.
Field Title | Description |
|---|---|
Name | The name of the data classification that will appear in the corresponding section. |
Description | A brief description of a category can be included in this field and is the only field that is optional. |
Level | A level is selected to assist in the classification's grouping and display and can be displayed in numeric order. |
Color | A color selection assists in the classification's grouping and display. |
Once the necessary fields are edited, click Save.
Add a Data Classification
New Data Classifications can be added by clicking Add Data Classification located at the top right of the screen.

The Add Data Classification menu has the same fields as Edit a Data Classification. Once the necessary fields are populated, click Save.
 |