Settings
The Configuration > General > Settings menu allows administrators to configure global RapidIdentity settings for the RapidIdentity System, its file migration, and proxy settings. This interface is broken up into subcategories:
Module Access Control
Historically, RapidIdentity supported defining access control for each module (e.g., Files, Dashboard, Requests) at the modular level. For example, if an Administrator wanted to set the Files module to only be accessed by specific users, the configuration would be completed within the Files Module settings. The new Module Access Control feature provides a new configuration option related to the access controls of the individual modules.
Note
If Access Controls are set to None, all active and enabled users across the system will have access to that module. Some users will still have restricted module access based on built-in Role definitions.
In RapidIdentity 2020.0.0, a new configuration and usability feature was added to enable administrators to manage the access control for all modules in a central location instead of having to navigate to each individual module's Settings menu.
Note
This module provides a safeguard for the rare occasions when an administrator can be locked out of a module completely. The Backup Administrator user can now fix that issue from this menu. Contact Identity Automation Support for more information on the Backup Administrator.
The module access control configurations between this menu and individual module settings are synchronized, and both point to the same database configuration. Any changes completed in this menu will be reflected at the individual module level, and any changes completed at the individual module level will be reflected here.
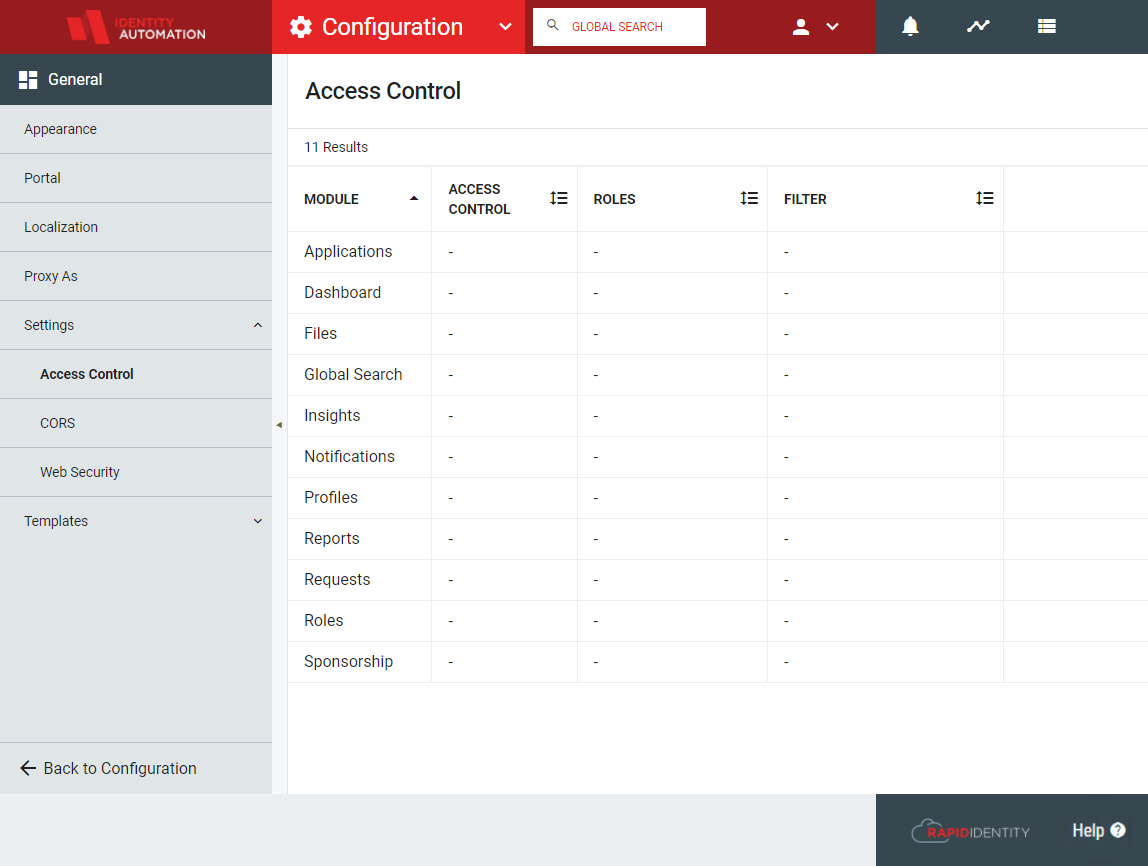 |
The Module Access Control configuration has four display fields:
Field | Description |
|---|---|
Module | Portal module that access controls are being applied to |
Access Control | Choose whether to use Role-Based Access Control (RBAC) or Attribute-Based Access Control (ABAC) for this module. |
Roles | If RBAC access control method was chosen, the name of the Role(s) will be displayed here |
Filter | If ABAC access control method was chosen, the LDAP filter will be displayed here |
CORS
Global CORS configuration for all RapidIdentity instances is stored in the database. These properties only need to be defined in rapididentity.properties if this particular instance of RapidIdentity needs to be configured differently from other instances. If these are defined, they take precedence over those defined globally in the database.
For each of the sections, the default values have been set. To add a new value to a section, simply click the Add button and enter the new desired value into the resulting field. To remove a value, simply click the X next to it.
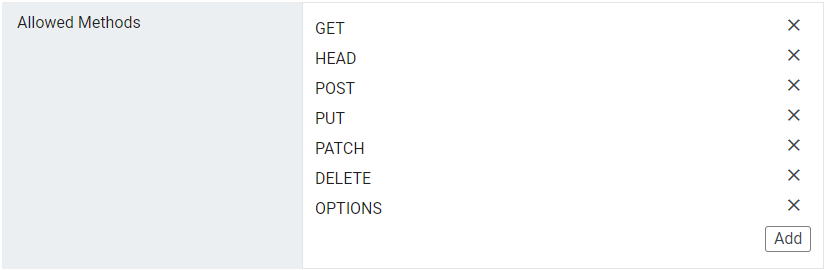
The Allowed Methods section lists HTTP request methods that can be used to access resources using cross-origin requests, and defines the methods to be included in the Access-Control-Allow-Methods header in pre-flight responses.
Default Values: GET, HEAD, POST, PUT, PATCH, DELETE, OPTIONS
 |
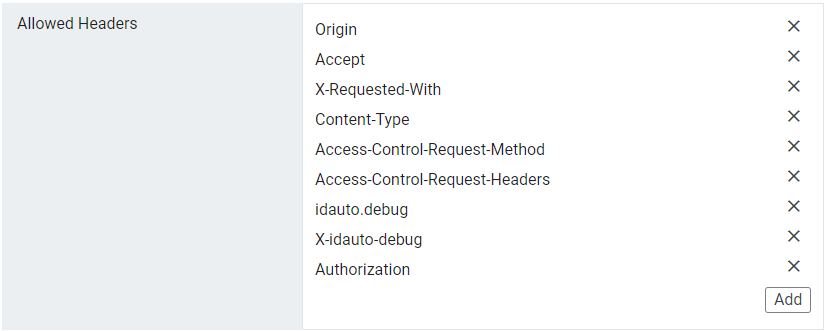
The Allowed Headers section lists HTTP request headers that can be used when making cross-origin requests. These headers will also be returned in the Access-Control-Allow-Headers header in pre-flight responses.
Default Values: Origin, Accept, X-Requested-With, Content-Type, Access-Control-Request-Method, Access-Control-Request-Headers, idauto.debug, X-idauto-debug, Authorization
 |
The Allowed Origins section lists all origins allowed to access resources on the server using cross-origin requests. A value of * indicates that resources are allowed to be accessed from any origin.
Note
* is not secure; Identity Automation recommends including an accurate domain value during initial configuration. If other values are added, make sure to remove the * value from the list; otherwise, it will override any non-* values and they will not save as expected.
Note
If configuring RapidIdentity for SAML authentication against an Identity Provider in a different domain, that domain may require being added as Allowed Origin. The Allowed Origin value should be formatted as https://identity_provider_domain.
Default Value: *
 |
The Exposed Headers section lists all headers other than simple response headers that browsers will be allowed to access. These are the headers which will be included in the Access-Control-Expose-Headers header in pre-flight responses.
Default Value: [blank]
 |
The Max Age subsection defines the number of seconds a browser is allowed to cache the result of a pre-flight request. This will be included as the Access-Control-Max-Age header in pre-flight responses. A negative value will prevent the header from being included in pre-flight responses.
Default Value: 1800
 |
 |
This option, when checked, responds to browser requests with Allow Credentials in order to improve security on cross-origin requests.
A cross-domain policy file is an XML document that grants a Flash Player client permission to handle data across domains. More information on crossdomain.xml files is available here. To populate this subsection, simply cut and paste the code for the desired cross-domain policy .xml file.
Note
The default crossdomain.xml file served by the RapidIdentity server is constructed from the rest of the CORS configuration as described above. A custom crossdomain.xml value should only be required if the default is not sufficient.
The default crossdomain.xml file can be accessed in a browser at https://[rapididentity_domain]/crossdomain.xml.
Default Value: [blank]
 |
When each subsection has been populated as desired, click Save.
Web Security
The Web Security Configuration menu provides administrators with a powerful interface to configure and define various levels of security for their domains. There are three configuration tabs in this menu:
XFrame Options
The XFrame Options menu is used to define whether or not a browser should be allowed to render a page in a frame. This adds a layer of security ensuring that the content is not embedded in other sites.
Note
These options are only applicable if the Header Enabled checkbox is active, and are only enforced if the user accessing the content is using a browser that supports the X-Frame-Options HTTP header.
When the Header Enabled checkbox is activated, the Header Rules become modifiable.
Note
RapidIdentity evaluates these rules in order from top to bottom. To reorder rules, click the stack icon on the right of the rule and drag it up or down within the list.
 |
For each rule, define a Path Regex (Path Regular Expression) and provide it with a Value. Every HTTP request that comes into RapidIdentity will be evaluated against the list in order. When a match is found, then the server's response will contain the X-Frame-Options header value defined for that path. RapidIdentity ships with some defaults already set for base functionality.
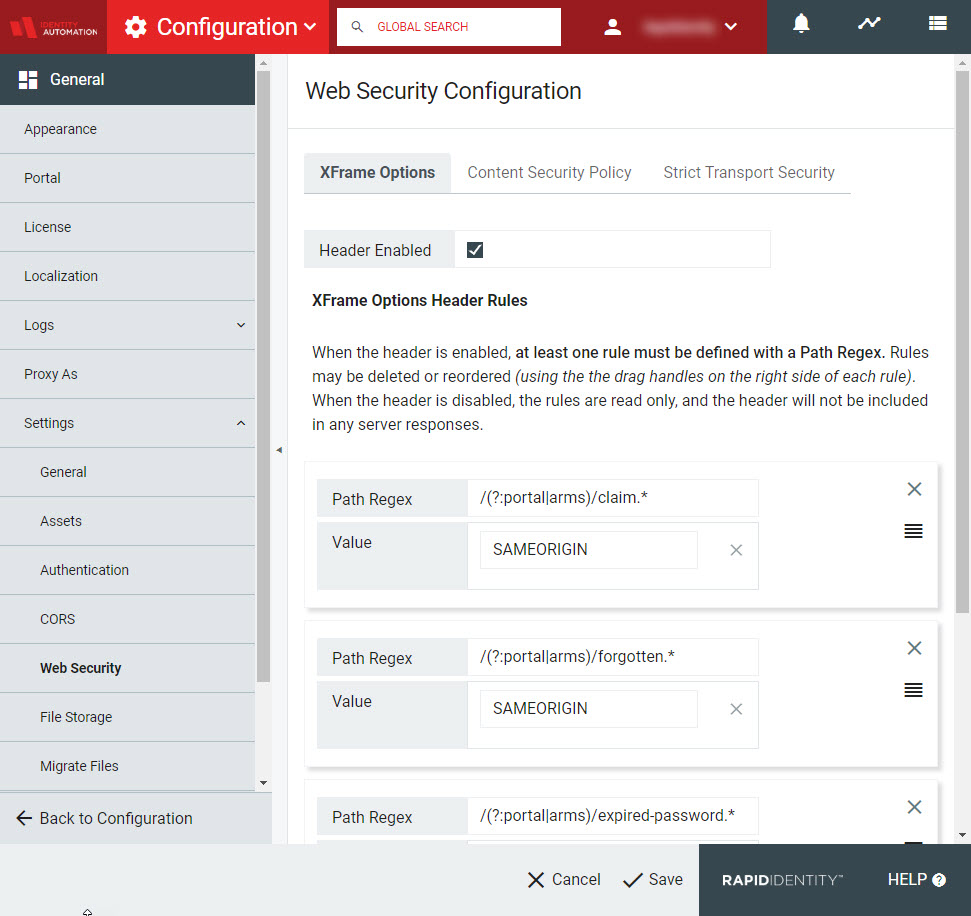 |
The default RapidIdentity settings define XFrame Options Header Rules for the Claim My Account, Forgot My Password, and Expired Password functionalities. Others may be added if desired.
To add a new rule, scroll down to beneath each of the configured rules and click Add new rule +. Include a new Path Regex and Value.
 |
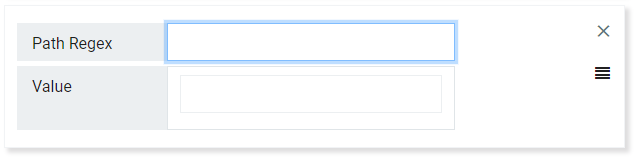 |
Path Regex is a regular expression that represents the URL path to be displayed within the frame.
Value is a choice of three options to define what the browser does with the content found through the Path Regex.
SAMEORIGIN: The page will be displayed in a frame on the same origin as the page itself.
DENY: The page will not be displayed in a frame.
ALLOW-FROM <uri>: The page will be displayed in a frame on the specified origin. Example:
allow-from https://www.example.com.
Content Security Policy
The Content Security Policy, or CSP, adds an extra layer of security against attacks such as Cross-Site Scripting or data injection attacks.
Note
These options are only applicable if the Header Enabled checkbox is active, and are only provided if the user accessing the content is using a browser that supports XFrame Options.
When the Header Enabled checkbox is activated, the Header Rules become editable.
Note
RapidIdentity evaluates these rules in order from top to bottom. To reorder rules, click the stack icon on the right of the rule and drag it up or down within the list.
For each rule, define a Path Regex (Path Regular Expression) and provide it with one or more Values. (This is the only header option that accepts multiple values.) Every HTTP request that comes into RapidIdentity will be evaluated against the list in order. When a match is found, the server's response will contain the Content-Security-Policy header values defined for that path. RapidIdentity ships with some defaults already set for base functionality.
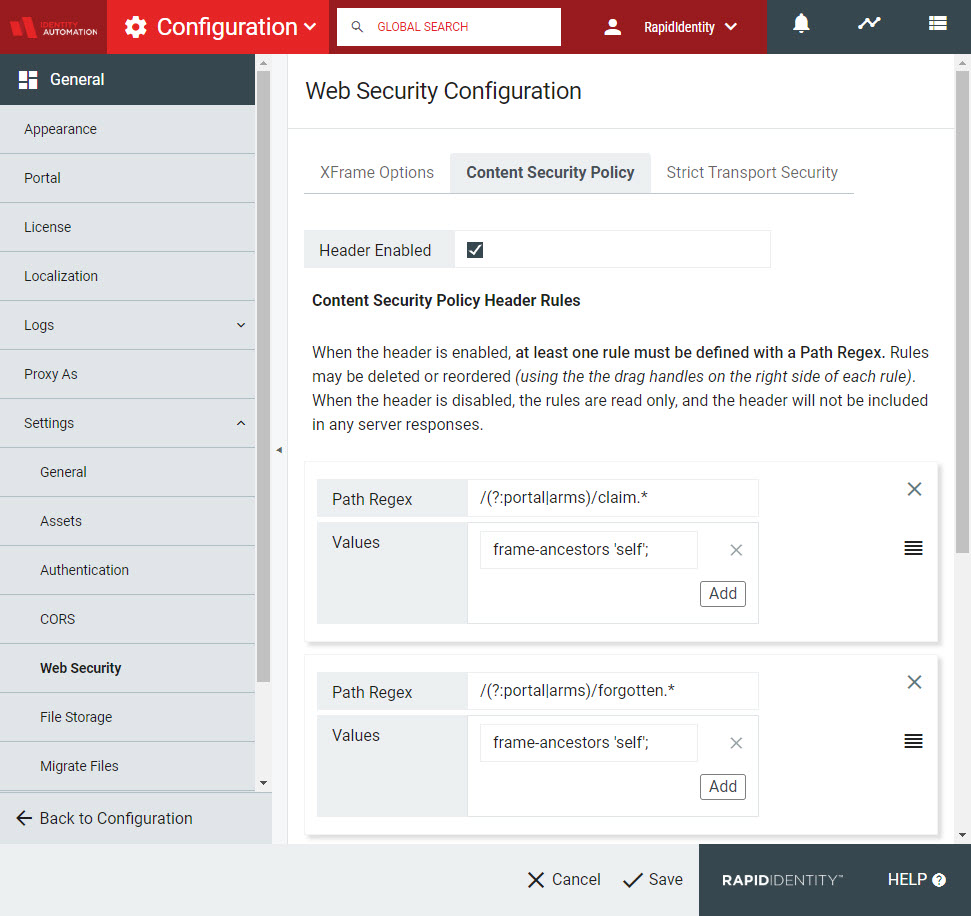 |
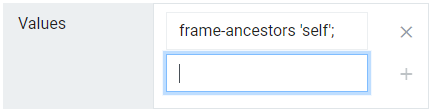
The default RapidIdentity settings define Content Security Policy Header Rules for the Claim My Account, Forgot My Password, and Expired Password functionalities. Others may be added as desired. New values may also be added to existing rules by clicking Add within the rule box and adding a new value for that rule.
Note
Once the value is typed in, press the Enter key or click the + on the right to commit the value to the rule.
 |
 |
To add a new rule, scroll down to beneath each of the configured rules and click Add new rule +. Include a new Path Regex and Value.
Path Regex is a regular expression that represents the URL path to be displayed within the frame.
Value is a choice of options to define the source for the determined policy. This can be one of the following:
<host-source>: Internet hosts by name or IP address. May include a URL scheme and/or port number if desired. Asterisks may be used as wild cards for leading URLs or defining ports. Examples of this source include
http://*.example.com,mail.example.com:443,https://store.example.com, etc.<scheme-source>: A scheme such as
http:orhttps:. The colon is required, and the scheme should not be quoted. Data schemes can be specified, but this is not recommended.'self': This refers to the origin from which the protected content is being served, which includes the URL scheme and port number. Single quotes must be included.
Note
This setting is recommended for any custom Help links to avoid redirect errors.
'none': No URLs will match. Single quotes must be included.
Strict Transport Security
The Strict Transport Security settings instruct web browsers that the content should only be accessed using HTTPS instead of HTTP.
Note
These options are only applicable if the Header Enabled checkbox is active, and are only provided if the user accessing the content is using a browser that supports this feature.
When the Header Enabled checkbox is activated, the Header Rules become modifiable.
Note
RapidIdentity evaluates these rules in order from top to bottom. To reorder rules, click the stack icon on the right of the rule and drag it up or down within the list.
|
For each rule, define a Path Regex (Path Regular Expression) and provide it with a Value. Every HTTP request that comes into RapidIdentity will be evaluated against the list in order. When a match is found, the server's response will contain the Strict-Transport-Security header value defined for that path.
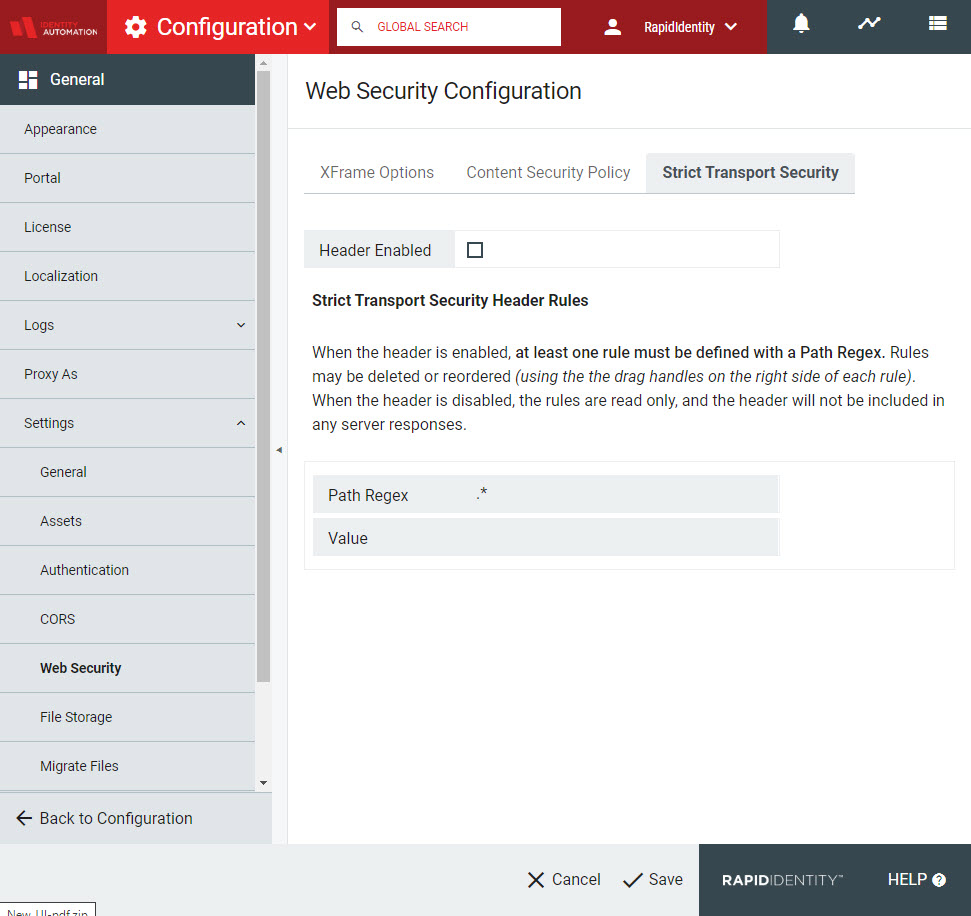 |
The default RapidIdentity settings do not define any Strict Transport Security Header Rules, allowing browsers to access each portion of the domain via HTTP. To modify the existing rule or add a new one, click the Header Enabled checkbox at the top of the menu and provide a value for the existing rule or add a new rule.
To add a new rule, scroll down to beneath the configured rules and click Add new rule +. Include a Path Regex and Value.
|
Path Regex is a regular expression that represents the URL path to be displayed within the frame.
Value is a choice of directives to provide the browser with instructions regarding the content found through the Path Regex. Directives include:
max-age=<expire-time>: Defines the number of seconds that the browser should remember to only access the site via HTTPS.
includeSubDomains: An optional parameter that applies to all of the site's subdomains as well.
preload: An optional parameter that includes certification through various browsers' HTTP Strict Transport Security (HSTS) Preload Lists.