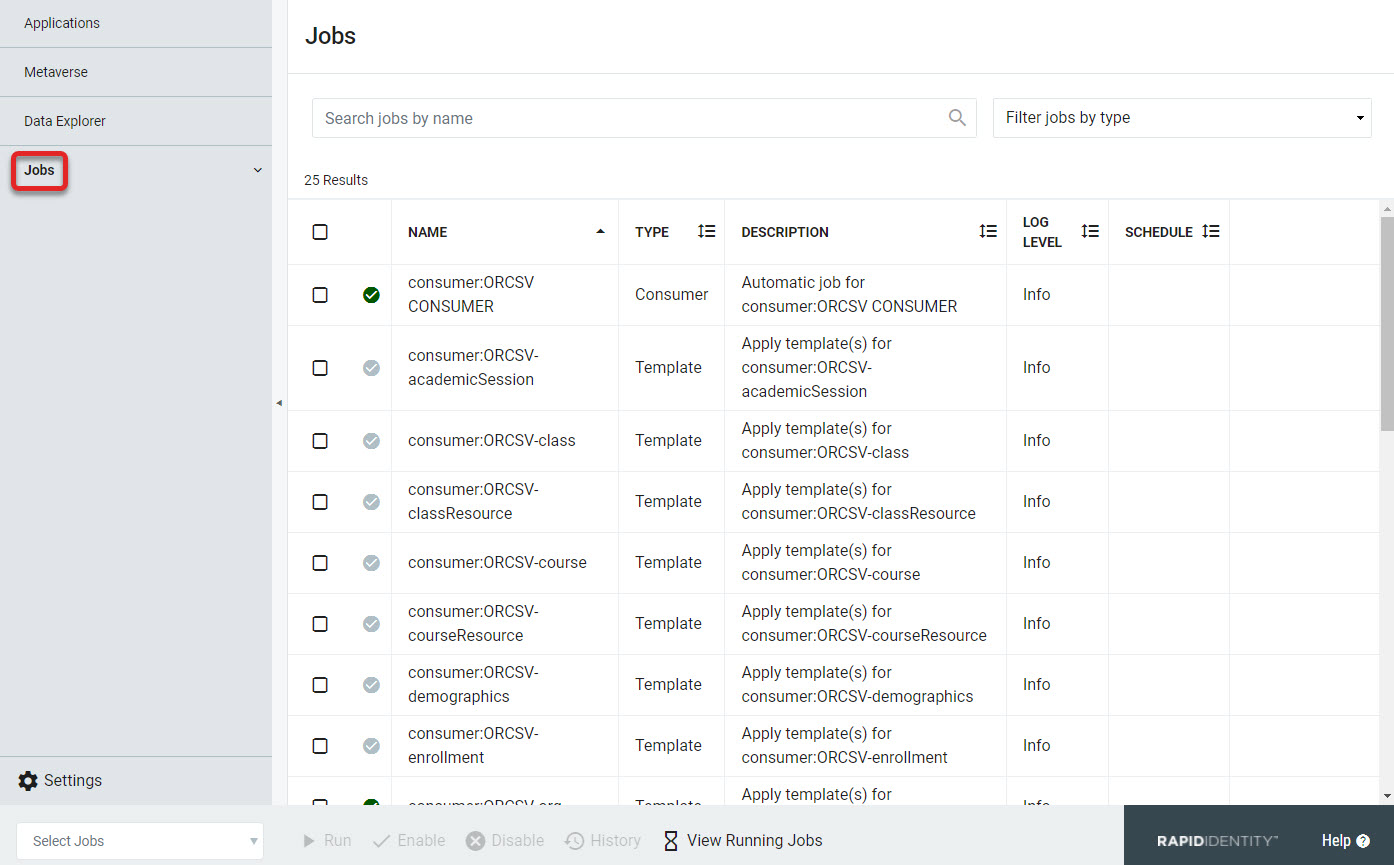
Studio Jobs
For RapidIdentity to process the settings and configurations in Data Provider or Data Consumer applications, you will first need to run an associated job. Provider Jobs and Consumer Jobs are run at certain points of the configuration process as described below. Consumer and Metaverse Template Jobs construct the records listed in their job name by processing all applicable record mappings that target the given type.
Each of these can be accessed from Jobs in RapidIdentity Studio. Once jobs have been populated in this screen, they can be scheduled by clicking Configure in the rightmost column.
Note
A job can be run manually before a schedule is Enabled to verify the job results, and must be Enabled before the schedule will activate.
Note the Search and Filter options at the top to better focus Jobs searches. The filter is for choosing job type and the search is helpful for finding specific job names.
 |
Enabling Jobs
Once a job has been scheduled, it will need to be enabled before the schedule will apply. To do this, simply select the job from the list and click the Enable button in the bottom Action Bar.
 |
Once a job has been enabled to run on schedule, the checkmark in the selection column will change from a muted grey ( ) to a dark green (
 ).
).
Job Actions
Once a job is running, its logs can be viewed as it runs, or the job can be canceled if needed.
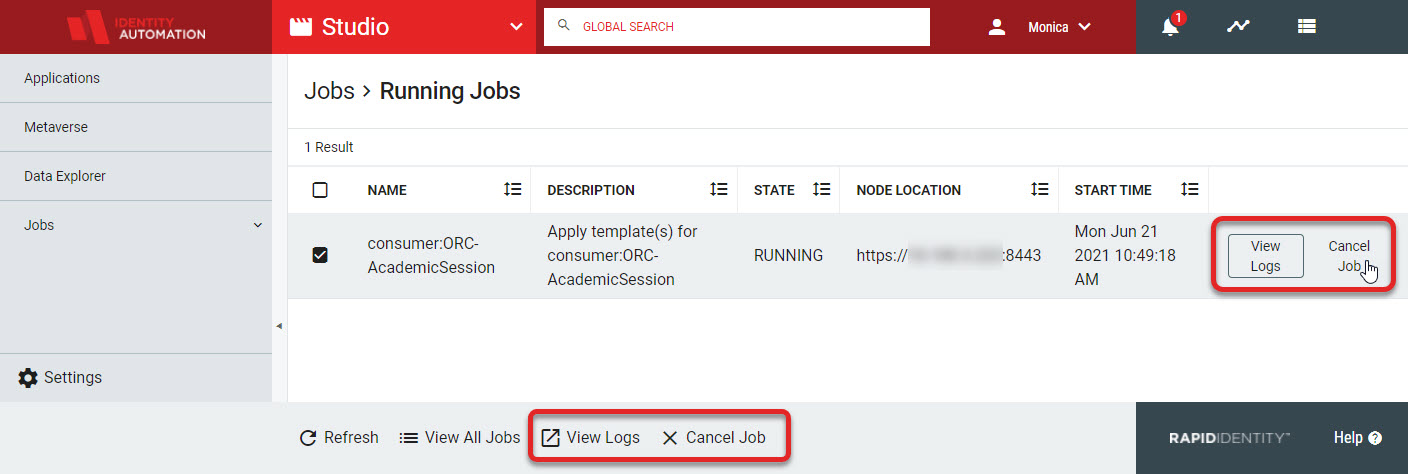 |
Viewing the log will open another tab and display the actions log of that job while it runs. Canceling a job will create a confirmation screen, and once that is accepted, the job will be marked as Cancelled.
Note
Canceling a job does not have an immediate effect. It will allow the current iteration or batch of the job to complete and then exit before the next iteration or batch starts. After a job is successfully canceled, the Job history will display it as such.
Job History
To download the logs once a job has been successfully run, select that job from the Jobs page and click History in the bottom Action Bar.
Note
Select one job or multiple jobs at a time to activate the History button.
With the job(s) selected, the right column menu appears providing the ability to Download Logs or View Logs. Downloading a Log will download a .log file that can be opened and examined further if necessary.
 |