Installation
Installation of RapidIdentity Client for Windows can be done interactively or silently by using command-line installation options.
To begin the installation, ensure to log in as a local administrator on the device. Then, follow the steps for the corresponding installation option.
Interactive Installation
Note
For Domain-Joined (v. Non-Domain-Joined) installments, the following prerequisites are required:
Available Authentication into RapidIdentity Cloud version 2021.7.27 or later (base requirement for all)
Windows 10 Machine must be domain-joined
Users' identities exist in both the RapidIdentity User Store and Active Directory with synced passwords
An API key has been assigned to the Authentication API Consumer role for the appropriate Service Identity (base requirement for all)
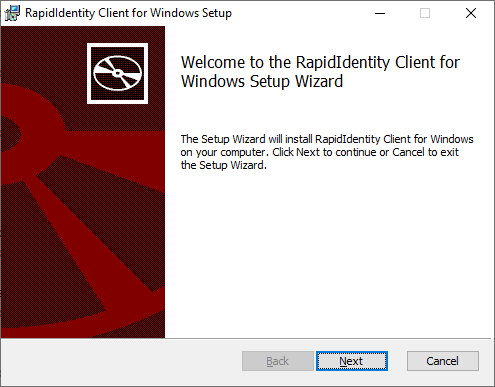
Download and then right-click on the RapidIdentity Client for Windows.msi file to install, then click Next on the Windows Setup Wizard to begin the installation.
Fill in the following fields as noted below.
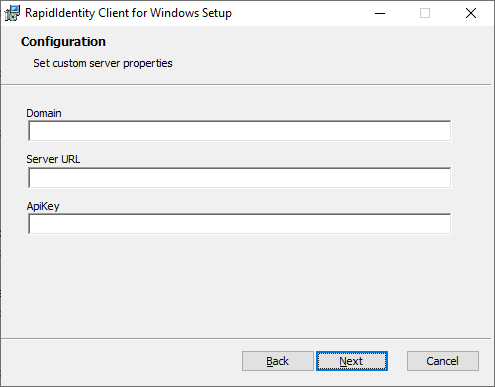
The Domain that the accounts will authenticate to
Note
Use DOT (.) to use a local account in a Non-Domain-Joined installation or the NetBIOS name of the Domain in the Domain field in a Domain-Joined installation.
The Server URL
The API Key generated from RapidIdentity Server
Note
For details on generating the API Key from RapidIdentity Server, refer to Service Identities.
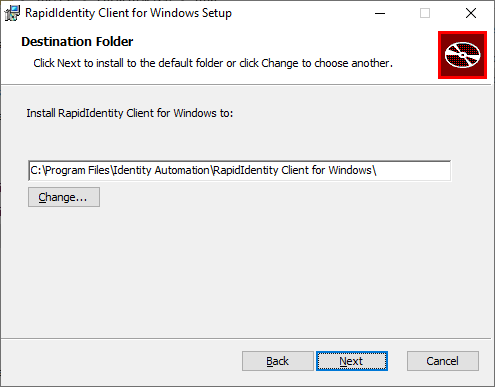
Select the folder in which the file is to be installed and click Next.
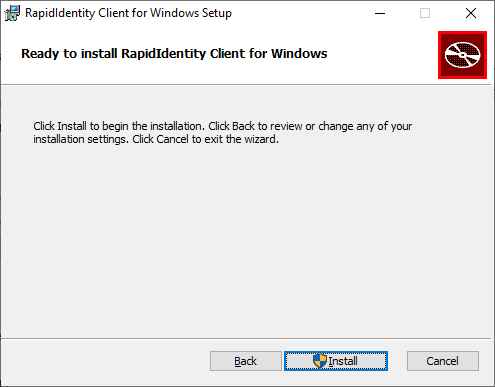
Click Install on the Ready to install window.
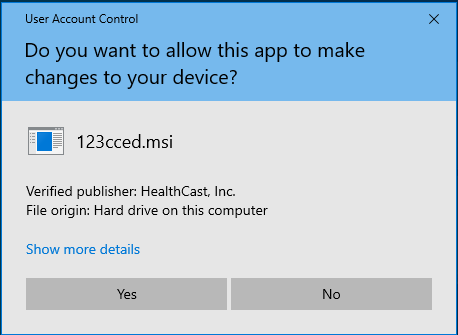
Click Yes to allow this app to make changes to the device if applicable.
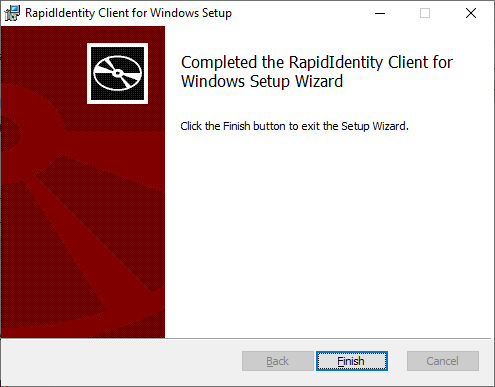
Once the installation is complete, click Finish to exit the Setup Wizard,
Command-Line Installation
From an administrative command prompt (or remote deployment package), execute the RapidIdentity Client for Windows install with the required command-line options. Below are the minimum values that need to be configured.
Set API Key: APIKEY=<provide your API key>
Set the URL: SERVER_URL=<provide your RI Server URL>
Set the Domain: DOMAIN=<provide your domain or enter DOT/PERIOD (.) to use a local account>
To install using the command line, open the Command Prompt and right-click on it from under the "Best match" section, and select Run as administrator.
Navigate to the location where the "RapidIdentity Client for Windows.msi" file is located, and execute the following command:
msiexec /i "RapidIdentity Client for Windows.msi" APIKEY=<provide your api key> SERVER_URL=<provide your RI Server URL> DOMAIN=<provide your domain or enter DOT/PERIOD (.) to use a local account> /qn /forcerestart
The install will proceed silently and will only reboot the device if
/forcerestartis added to the command line. See msiexec help for additional details and options.