Custom Providers
For a Custom Provider, you will most frequently have a Delimited Text file (.csv, .txt, etc.) with data that will need to be imported and configured.
From the Applications menu, select Add Application. Then from the Catalog, click Create New.

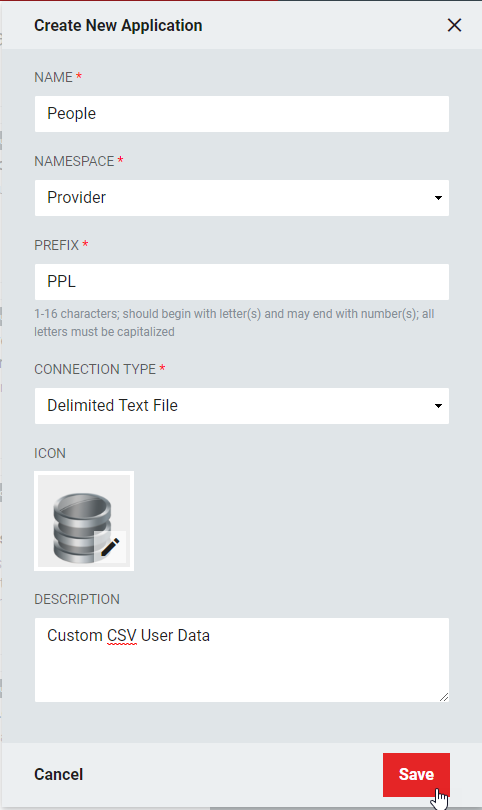
In the resulting sidebar, give the application an easily recognizable name. Define its namespace (in this case, use the Provider namespace), give it a prefix (this will associate record definitions with the application), and choose Delimited Text File as the connection type. Choose or upload an icon and provide a short description, then click Save.
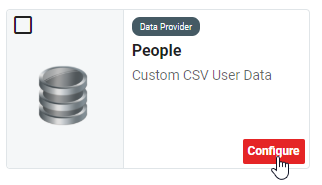
Now that the Application has been created, click to Configure it from the Applications screen.
Unlike with Applications imported from the Catalog, in new Applications, none of the Connection Settings, Record Definitions, Record Mappings, or Field Mappings are pre-populated. These will need to be done individually, using information about the Delimited Text file as well as network configuration and access details.